How to Take Great Business Headshot Portraits
Headshots are a necessary part of commercial photography. There will always be people who need headshots for their company, online profile, or modeling comp card. While there are myriad ways to shoot a headshot, I will go over the basic setup. It’s a great starting point and will always get you a great photo.
My basic setup is with 2-5 lights and light shapers depending on the situation. If you’re in a confined space and only shooting one or two people, using all small flashes/speedlights is fine. The larger the space and the more people you have lined up, the wiser it is to use large flash units that can run all day and have a higher output. But as I always say, there is no ‘right way’ to do anything in photography. You can bounce, you can use natural light, you can shoot through cloth. This is just one way to do it.
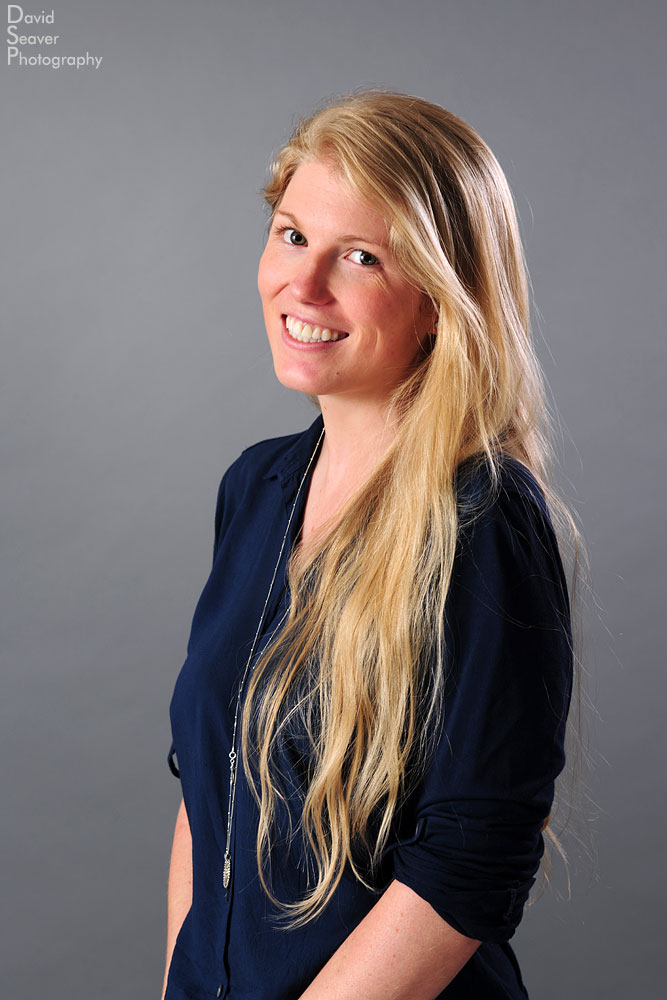
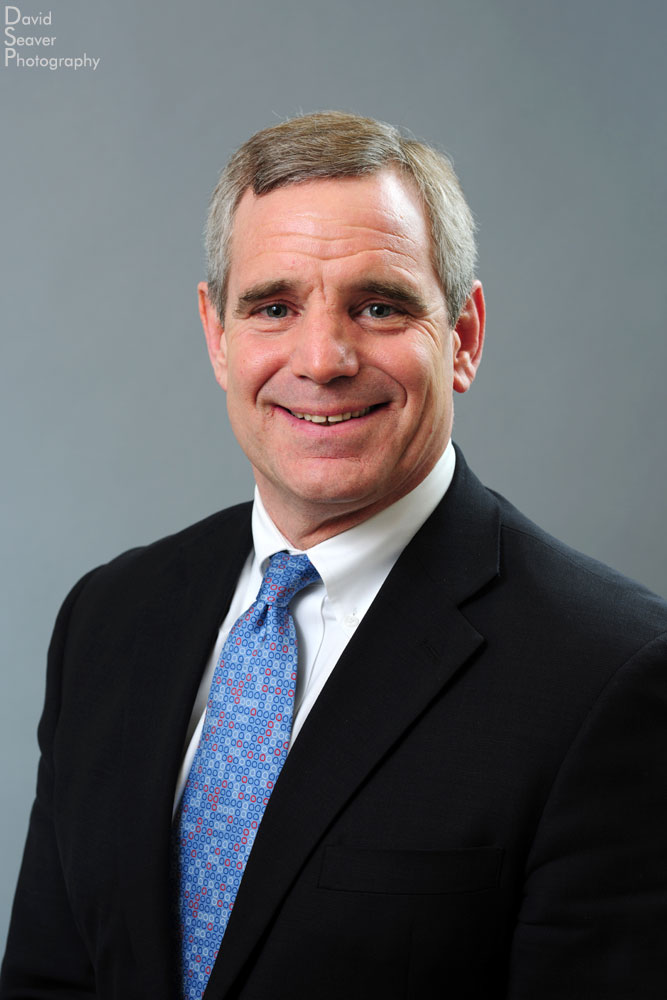
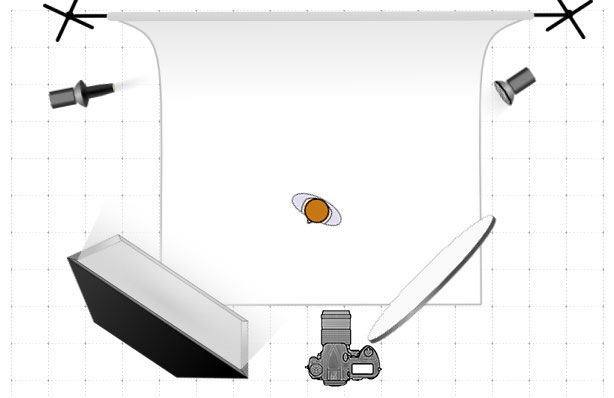
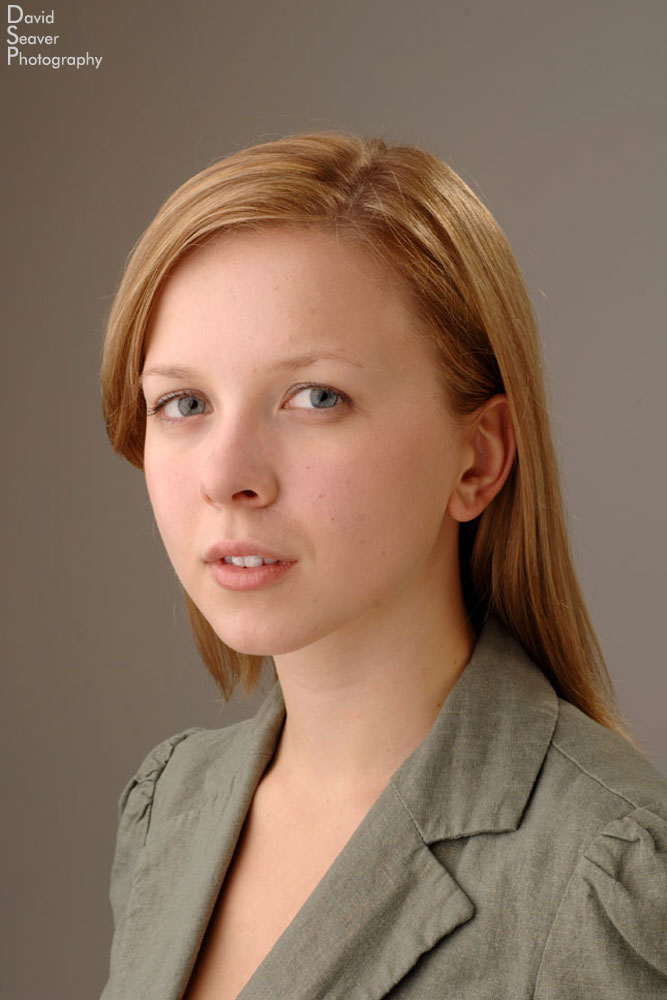
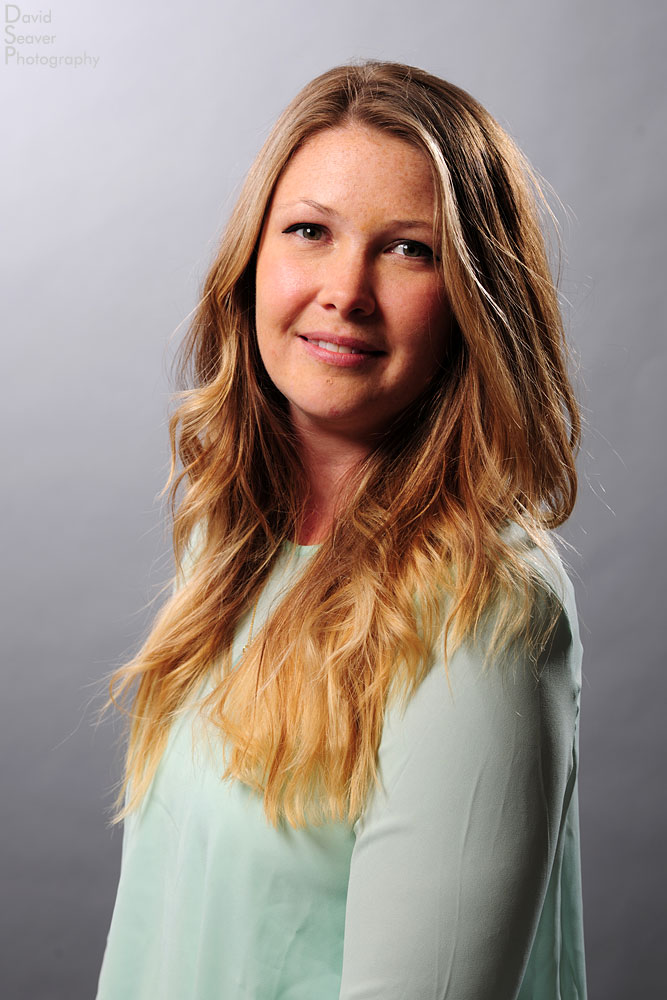
My main/key light is usually a softbox to camera left. Unless the client says otherwise I have the subjects turn their bodies about 45 degrees to their right, showing me the left side of their face (traditionally the ‘more beautiful side’). The main light is about 45 degrees to my left, at head height or higher (depending on ceiling height. The secondary light is either a gridded spot or a softbox (the deeper the baffles the better) coming from the back camera right to highlight the shoulder, separate the subject from the background, and give a little rim light to the hair. My third light is a gridded spot or a snoot raking across the background at an aggressive angle from back camera left to give a little variation to the background. The fourth light can be powered or just a white reflector under the subject, camera front/low right. If you’re using a reflector get it as close to the edge of the frame as possible to fill the shadow created by the key light. When the reflector isn’t enough, I will push a little light through it with a small flash. If the shadows are still too deep, you can bounce yet another flash off the ceiling (Assuming it’s white) to fill in the shadows or run a large umbrella camera right at a lower power to fill the shadows.
This setup is assuming you A.> Have enough lights. B.> Are working in a space large enough to fit all the lights.
With all photography, as soon as you get on site, all the rules go out the window. Many a time, I have been called to do headshots and ended up squeezing into a room the size of a small closet. If the walls are white, you can always bounce off them, especially for the key light, which lessens the space needed. Sometimes I get lucky and the client likes the color of a painted wall and a backdrop isn’t necessary, but most offices are sadly painted beige, not the best photo background.
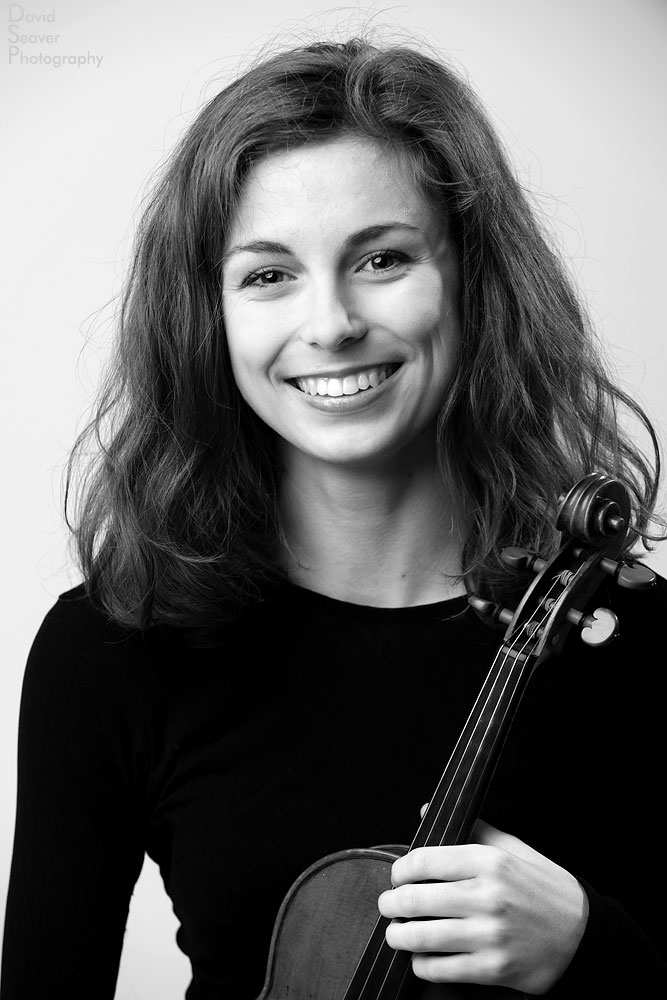
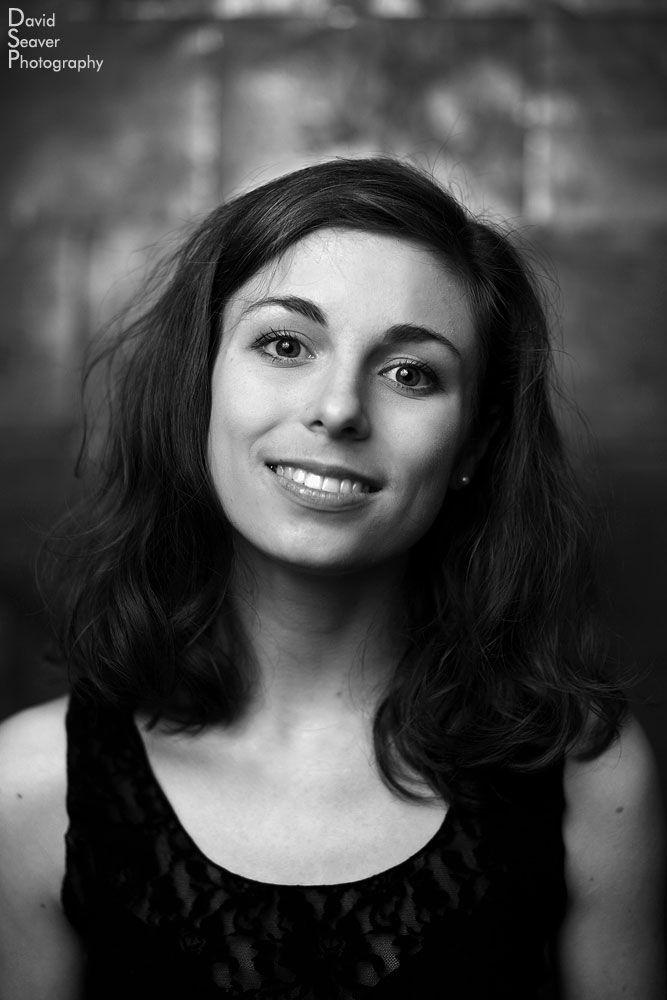
With this basic setup you can adjust how much contrast there is, and how dramatic the lighting is just by changing the distance and position of the lighting from the subject. This same setup can be used outside or in another setting. If you’re outside or in a well lit location, you can get away with using just the main key light, balancing it with the surroundings.
Take these idea with you the next time you shoot a portrait. Start from a place you know and then start to stray into the unknown.

