Tips From a Professional Photographer

How to Take Great Photos

Tips from a Professional Photographer

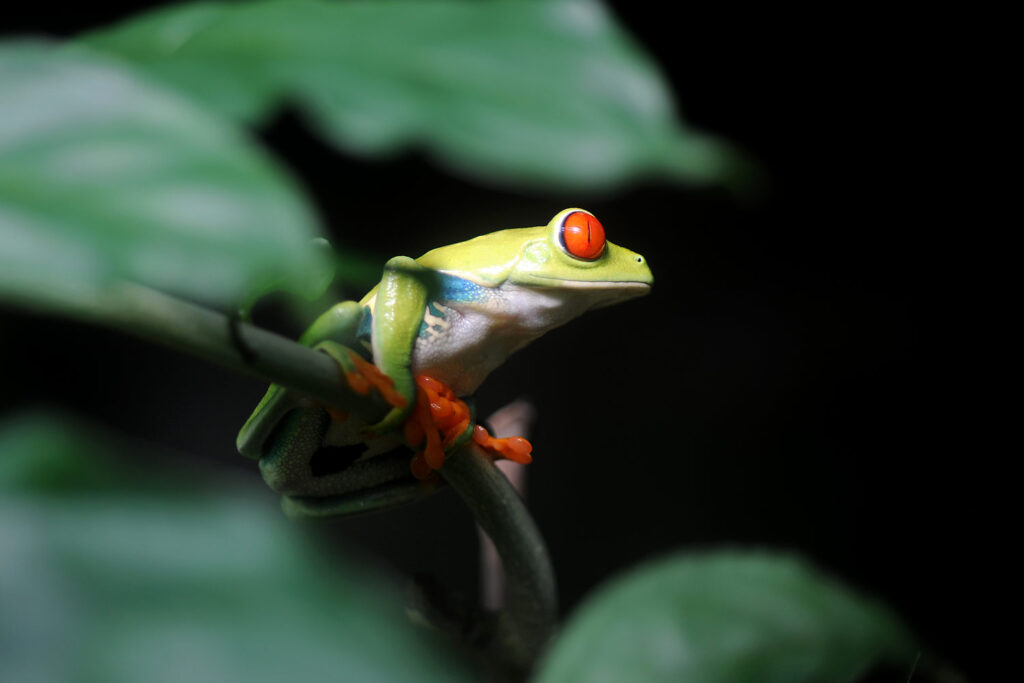
Latest

How to Take Great Food Photos

Food photography has become increasingly popular in recent years, with the rise of social media and food blogging. Taking great food photos requires a combination of technical skill, creativity, and attention to detail. In this blog post, we will cover some tips and techniques for taking great food photos.

  1. Use natural light: Natural light is the best option for food photography. Look for a window with soft, diffused light, and position your food near the window. Avoid using artificial lighting, which can create harsh shadows and unflattering colors.
  2. Style your food: Food styling is an essential part of food photography. Arrange your food in an appealing and visually interesting way. Use props such as cutlery, napkins, and flowers to add interest and context to your photos.
  3. Use a shallow depth of field: Using a shallow depth of field can create a blurred background, which draws attention to the food. Use a wide aperture and focus on the food, allowing the background to blur naturally.
  4. Get up close: Close-up shots can showcase the textures and details of the food. Get up close to your food and use a macro lens or zoom in on your camera to capture the details.
  5. Play with angles: Experiment with different angles to create a dynamic and interesting shot. Shoot from above to showcase the arrangement of the food, or from a low angle to create a sense of depth and dimension.
  6. Edit your photos: Once you have captured your images, edit them to enhance the colors and overall quality of the photo. Adjust the brightness, contrast, and color temperature to create a vibrant and visually appealing image.

Taking great food photos requires a combination of technical skill, creativity, and attention to detail. By using natural light, styling your food, using a shallow depth of field, getting up close, playing with angles, and editing your photos, you can create visually compelling and mouth-watering food photos that will capture the attention of your viewers.

How to Take Great Photos

Taking great photos requires a combination of technical skill, creativity, and an eye for detail. Whether you are a beginner or an experienced photographer, there are several key steps you can take to improve your photography. In this blog post, we will cover some tips and techniques for taking great photos.

  1. Know your camera: Understanding how your camera works is essential for taking great photos. Learn how to adjust the aperture, shutter speed, and ISO settings to control the exposure and depth of field. Experiment with different lenses to see how they affect the composition and focus of the image.
  2. Pay attention to composition: Composition is one of the most important aspects of photography. Use the rule of thirds to create a balanced and visually interesting composition. Look for leading lines, patterns, and shapes that can add depth and interest to your photos. Use foreground elements to create a sense of depth and scale.
  3. Find good light: Lighting is one of the most important factors in photography. Look for natural light sources, such as the sun, to create a warm, inviting atmosphere. Avoid harsh, direct light, which can create unflattering shadows and highlights.
  4. Use interesting perspectives: Don’t be afraid to experiment with different perspectives and angles. Get low to the ground to create a sense of depth and foreground interest. Climb to a higher vantage point to capture a sweeping panorama. Look for unique and unexpected angles to create a more dynamic and interesting shot.
  5. Tell a story: A great photo should tell a story or evoke an emotion. Look for moments that capture a particular mood or feeling. Use composition, lighting, and perspective to create a sense of drama or intrigue.
  6. Edit your images: Once you have captured your images, it’s time to edit them. Use photo editing software to enhance the colors, contrast, and overall quality of your images. Be careful not to over-edit your images, as this can make them look artificial and unappealing.

Taking great photos requires a combination of technical skill, creativity, and attention to detail. By understanding how your camera works, paying attention to composition, finding good light, using interesting perspectives, telling a story, and editing your images, you can create visually compelling and emotionally impactful photos that will capture the attention of your viewers.

How to Take Dramatic Product Photos

Product photography is an essential part of marketing and branding for any business that sells physical products. By creating dramatic product photos, you can make your products stand out and grab the attention of potential customers. In this blog post, we will cover some tips and techniques for creating dramatic product photos that will help your products shine.

  1. Use Creative Lighting: Lighting is one of the most important aspects of photography, and it plays a crucial role in creating dramatic product photos. Use creative lighting techniques such as dramatic shadows, directional lighting, or a combination of different types of lighting. Experiment with different lighting setups to find the one that best suits your product.
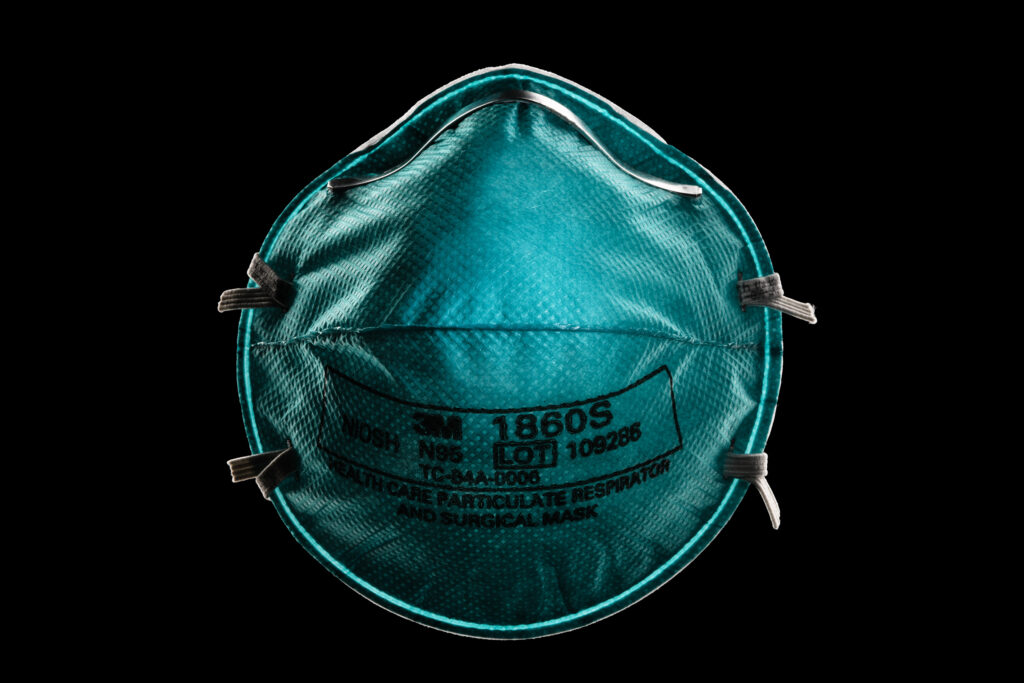
  2. Use a Dark Background: A dark background can add depth and drama to your product photos. A black or dark grey background can make the product pop and stand out, making it the focal point of the image. You can use a black piece of fabric, a black cardboard, or a black paper for the background.
  3. Use Props: Props can be used to add interest and context to your product photos. Use props that complement the product and add to the overall story. For example, if you’re photographing a watch, you can use a leather strap, a pair of cufflinks, or a luxury pen to create a narrative around the product.
  4. Play with Angles: Experiment with different angles to create a dynamic and dramatic product photo. Try shooting from a low angle to create a sense of power and dominance, or from a high angle to create a sense of vulnerability or fragility. You can also try shooting from different perspectives, such as from above, below, or at an angle.
  5. Use a Wide Aperture: Using a wide aperture can create a shallow depth of field and blur the background, drawing attention to the product. This technique can help create a sense of drama and focus the viewer’s attention on the product.
  6. Post-Processing: Post-processing can be used to enhance and add drama to your product photos. You can use photo editing software to adjust the contrast, brightness, and color of the image. You can also add a vignette or a border to create a dramatic effect.

In conclusion, creating dramatic product photos requires a combination of creativity, technical skill, and attention to detail. By using creative lighting, dark backgrounds, props, different angles, and post-processing techniques, you can create visually compelling product photos that will capture the attention of potential customers and help your products stand out from the crowd.

How to Take Great Landscape Photos

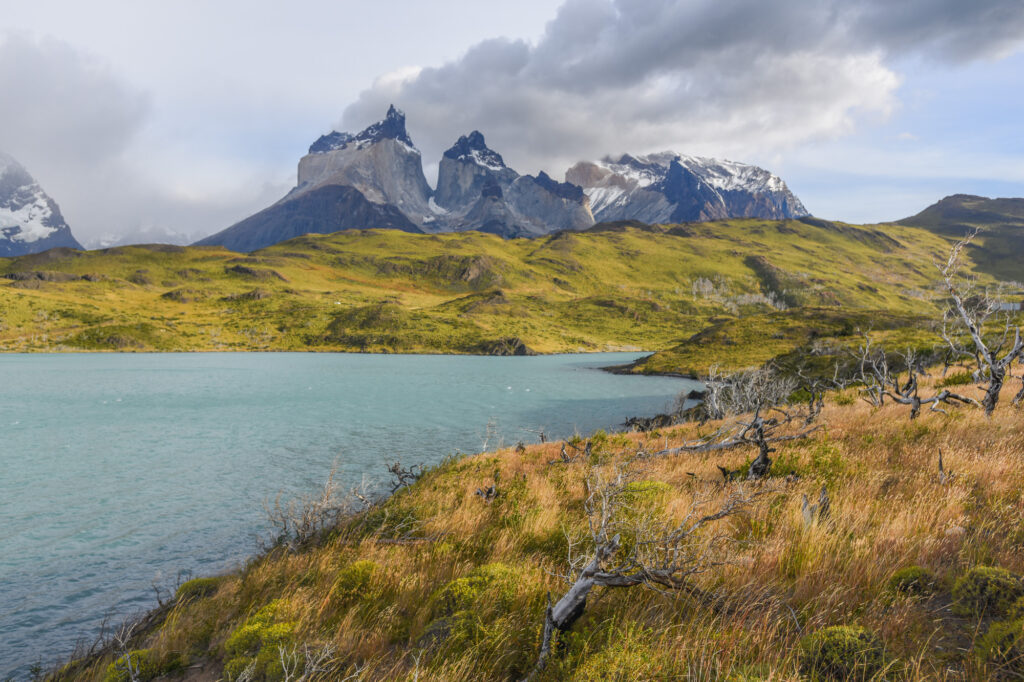
Landscape photography can be a challenging but rewarding genre of photography. Capturing the beauty and majesty of the natural world requires a combination of technical skill, artistic vision, and a keen eye for detail. Whether you are a seasoned professional or an amateur photographer, there are several key steps you can take to improve your landscape photography. In this blog post, we will cover some tips and techniques for taking great landscape photos.

  1. Plan your shot: Before you even pick up your camera, take some time to plan your shot. Scout out potential locations and study the weather conditions. Look for interesting foregrounds, backgrounds, and points of interest. Consider the time of day and the direction of light. Planning your shot in advance can help you capture the perfect moment.
  2. Use the right equipment: The equipment you use can make a big difference in the quality of your landscape photos. You will need a camera with a high resolution and good dynamic range. A wide-angle lens can be useful for capturing the entire scene, while a telephoto lens can help you isolate specific details. A tripod can also be helpful for keeping your camera steady and reducing camera shake.
  3. Pay attention to composition: Composition is one of the most important aspects of landscape photography. Use the rule of thirds to create a balanced and visually interesting composition. Look for leading lines, patterns, and shapes that can add depth and interest to your photos. Use foreground elements to create a sense of depth and scale.
  4. Experiment with different perspectives: Don’t be afraid to experiment with different perspectives and angles. Get low to the ground to create a sense of depth and foreground interest. Climb to a higher vantage point to capture a sweeping panorama. Look for unique and unexpected angles to create a more dynamic and interesting shot.
  5. Use the right settings: The settings you use can make a big difference in the quality of your landscape photos. Use a small aperture (such as f/11 or f/16) to create a deep depth of field and keep everything in focus. Use a low ISO to reduce noise and maintain image quality. Use a slow shutter speed to create a sense of movement or a fast shutter speed to freeze action.
  6. Pay attention to light: Light is one of the most important aspects of landscape photography. The quality, direction, and color of the light can have a big impact on the mood and feel of your photos. Look for soft, diffused light in the early morning or late afternoon. Use the golden hour to create a warm, glowing effect. Look for interesting shadows and contrasts.
  7. Edit your images: Once you have captured your images, it’s time to edit them. Use photo editing software to enhance the colors, contrast, and overall quality of your images. Be careful not to over-edit your images, as this can make them look artificial and unappealing.

Taking great landscape photos requires a combination of technical skill, artistic vision, and a keen eye for detail. By following these tips and techniques, you can create visually compelling and emotionally impactful images that capture the beauty and majesty of the natural world.

How to Create Great Studio Portraits

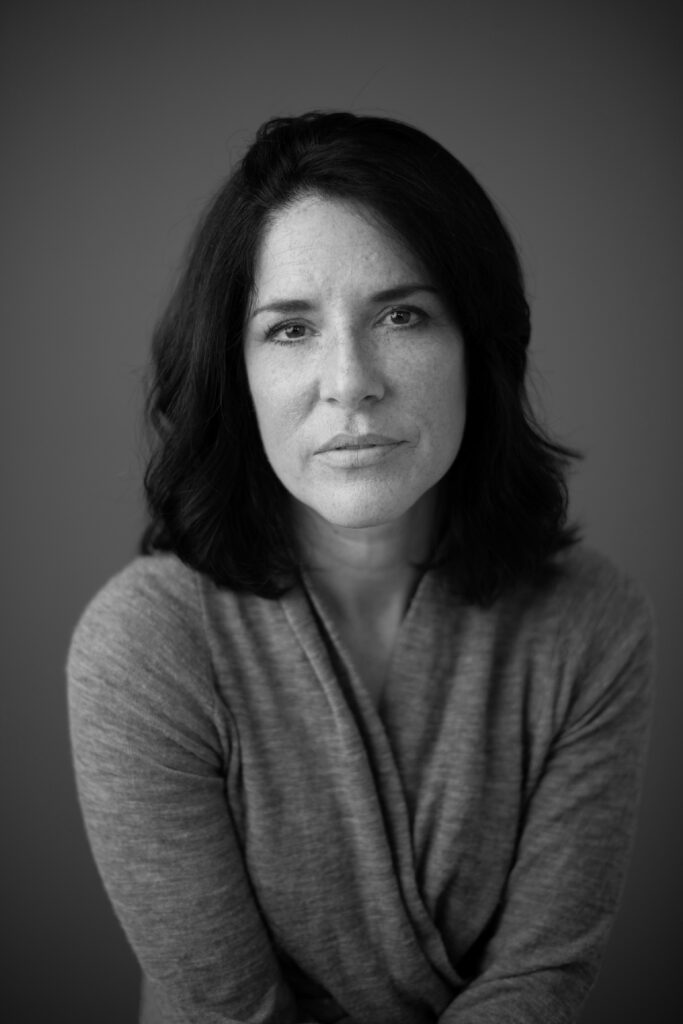
Taking great studio portraits requires a combination of technical skill, artistic vision, and effective communication with your subject. Whether you are shooting professional models or everyday people, there are several key steps you can take to ensure that your studio portraits are visually compelling and emotionally impactful. In this blog post, we will cover some tips and techniques for taking great studio portraits.

  1. Set up your studio: The first step to taking great studio portraits is to set up your studio space. You will need a large enough area to accommodate your equipment and your subject. Consider the lighting in your studio and whether you will be using natural light or artificial lighting. You will also need to select a backdrop that complements your subject and adds depth and interest to your images.
  2. Choose your equipment: The equipment you use can make a big difference in the quality of your studio portraits. You will need a camera with a high resolution and good low-light performance. A wide-angle lens can be useful for capturing the entire scene, while a portrait lens can help create a shallow depth of field and a pleasing bokeh effect. You will also need lighting equipment, such as studio strobes, softboxes, and reflectors, to create the desired lighting effect.
  3. Communicate with your subject: The key to capturing great studio portraits is to establish a connection with your subject. Talk to them before the shoot to get a sense of their personality and style. This will help you determine how to pose and position them for the best results. Encourage them to express themselves and experiment with different poses and expressions.
  4. Pose your subject: Posing your subject is an art in itself. You will need to pay attention to their body language, facial expressions, and overall posture. Experiment with different poses and angles to find the most flattering and interesting shots. You can also use props and accessories to add interest and personality to your images.
  5. Focus on the eyes: The eyes are the windows to the soul, and they can make or break a portrait. Make sure your subject’s eyes are sharp and in focus. Use a wide aperture to create a shallow depth of field and a pleasing bokeh effect. Encourage your subject to look directly into the camera to create a sense of connection with the viewer.
  6. Pay attention to lighting: Lighting is one of the most important aspects of studio photography. Use soft lighting to create a flattering, natural-looking effect. Experiment with different lighting setups to create different moods and effects. Use a reflector to fill in shadows and create a more balanced light.
  7. Edit your images: Once you have captured your images, it’s time to edit them. Use photo editing software to enhance the colors, contrast, and overall quality of your images. You can also crop your images to improve composition and remove distractions. Be careful not to over-edit your images, as this can make them look artificial and unappealing.

In conclusion, taking great studio portraits requires a combination of technical skill, artistic vision, and effective communication with your subject. By following these tips and techniques, you can create visually compelling and emotionally impactful images that will stand the test of time.

Annual Report Photos

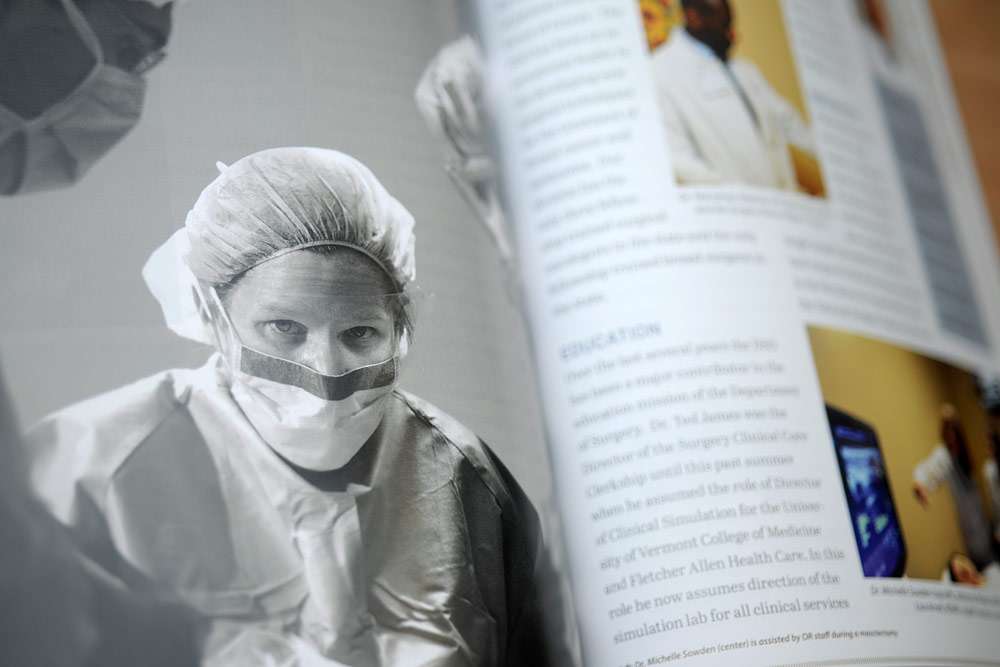
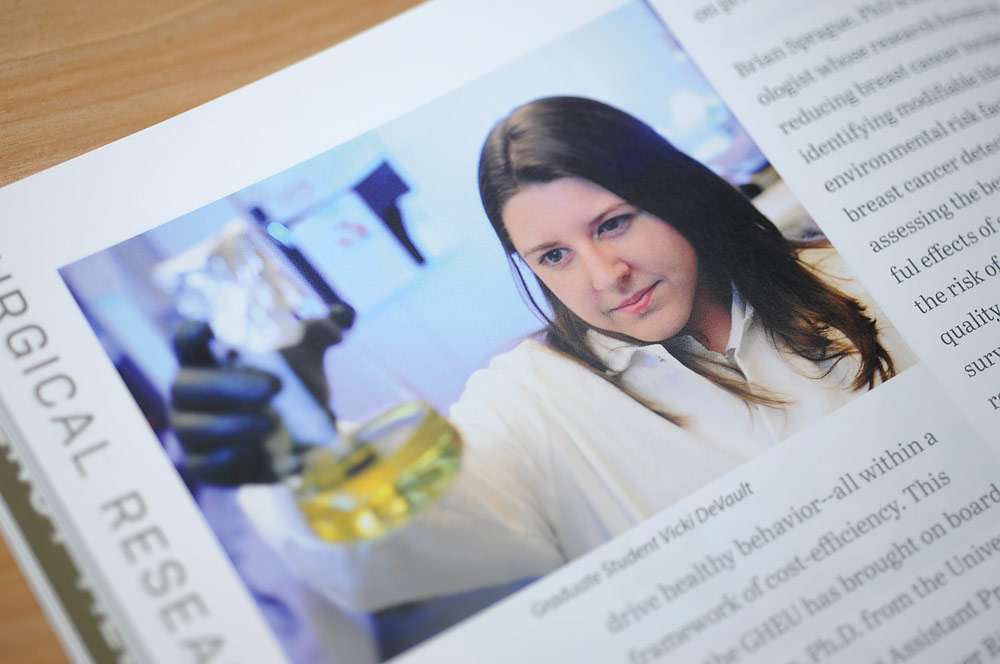
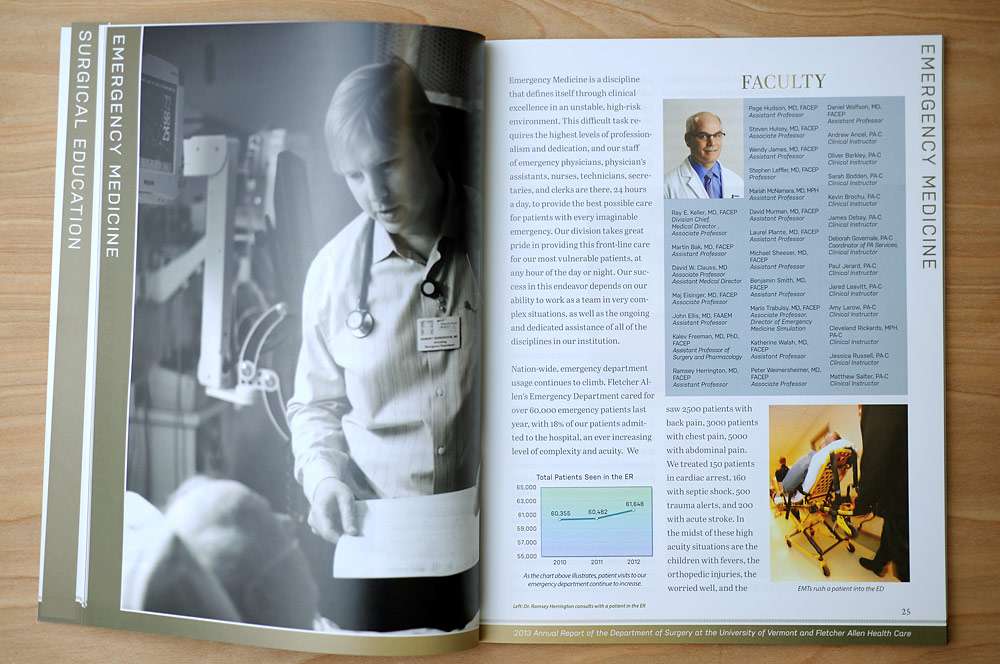
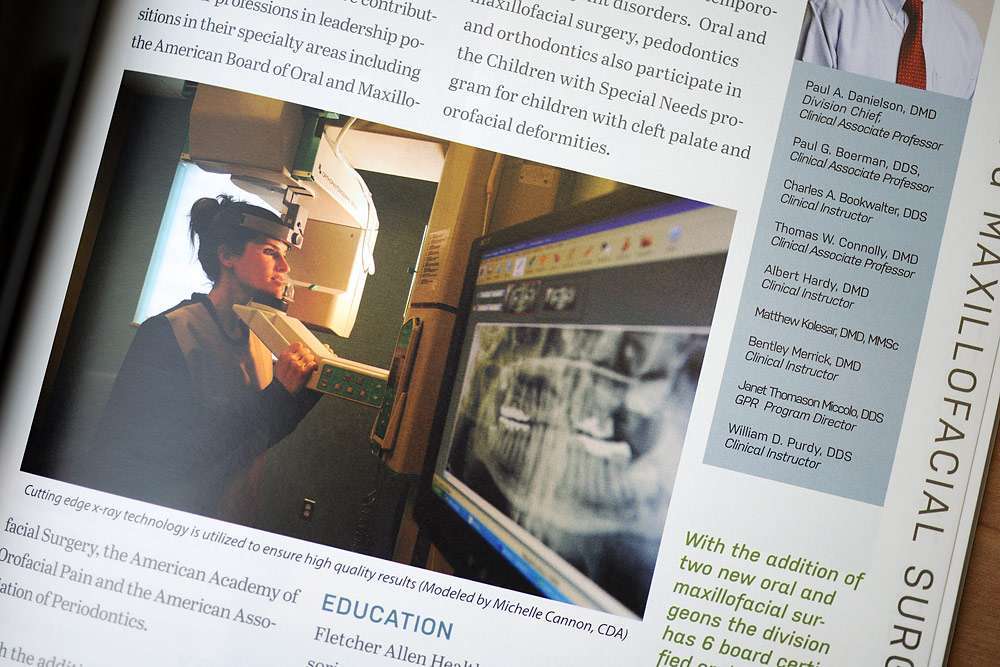
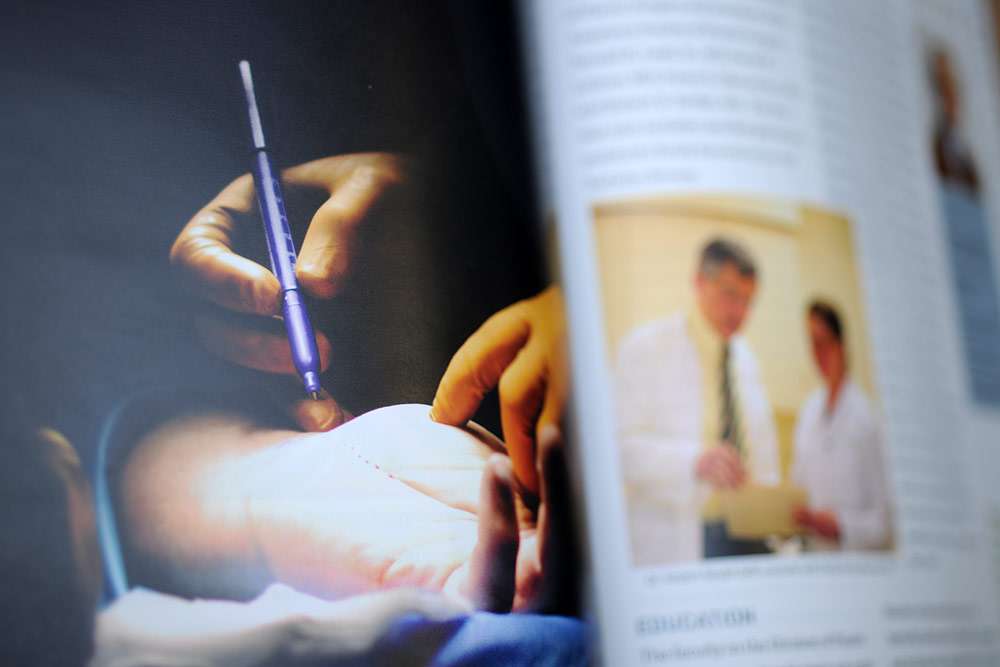
The 2013 University of Vermont Medical School, Department of Surgery annual report is out and it looks great!  This was a huge project for me, the main portion taking the better part of 3 months.  We covered a lot of ground, highlighting people and procedures of each department.

I love this type of photography.  Working on the fly, every situation is different, there are time pressures, you have to be flexible with the situations and think creatively under pressure.  The lighting was always ad-hoc, mixing available light with flash, and always trying to push the edges to see what happens.  An then of course there’s the subject matter;  I always want to ‘peer behind the curtain’ and see what most don’t get to.  I think shooting in surgery counts towards that.  The OR is a very unique environment and it was truly a privilege to be able to photograph the men and women who work in them everyday.

Here are some shots of the actual printed version.  It’s so nice these days to be able to see your work on paper.  There’s really nothing like holding a photo.  This particular annual report is extra fun to hold, the cover has a soft, creamy, coating that feels amazing .

DTC_8028_web

DTC_8041_web

DTC_8039_web

DTC_8030_web

DTC_8052_web

DTC_8048_web

New Website

Hi everyone, I wanted to let you know that after a busy summer and fall, I’ve finally updated my main website for my commercial photography.  I will still be writing more how to photo blogs here, but I encourage you check out my new website, www.DavidSeaver.com.  There’s lots of new photos from the last year, including a huge new section on my health care and medical photography, loads of new portrait photos, and some cool new travel photos.  Many of the new photos on the website use different kinds of lighting from one-light setups with a single flash, to some with all the flashes I have on hand.  Most are shot on location and combine flash with the existing ambient light.  Enjoy!

How to Take Great Business Headshot Portraits

Headshots are a necessary part of commercial photography.  There will always be people who need headshots for their company, online profile, or modeling comp card.  While there are myriad ways to shoot a headshot, I will go over the basic setup.  It’s a great starting point and will always get you a great photo.

4 Light Headshot.

My basic setup is with 2-5 lights and light shapers depending on the situation.  If you’re in a confined space and only shooting one or two people, using all small flashes/speedlights is fine.  The larger the space and the more people you have lined up, the wiser it is to use large flash units that can run all day and have a higher output.  But as I always say, there is no ‘right way’ to do anything in photography.  You can bounce, you can use natural light, you can shoot through cloth.  This is just one way to do it.

4 Light Headshot Portrait.

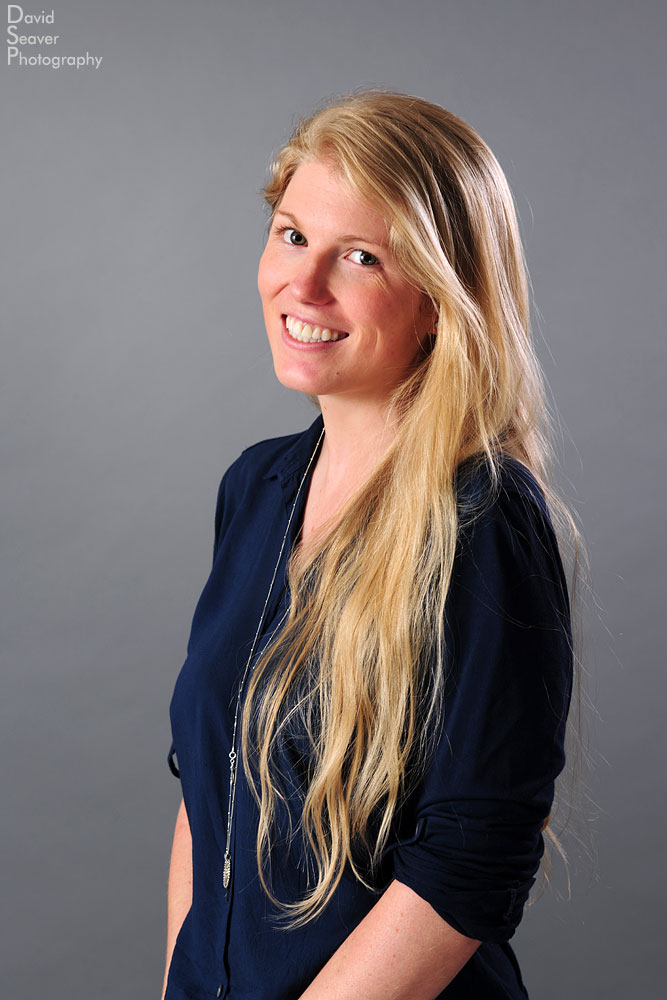
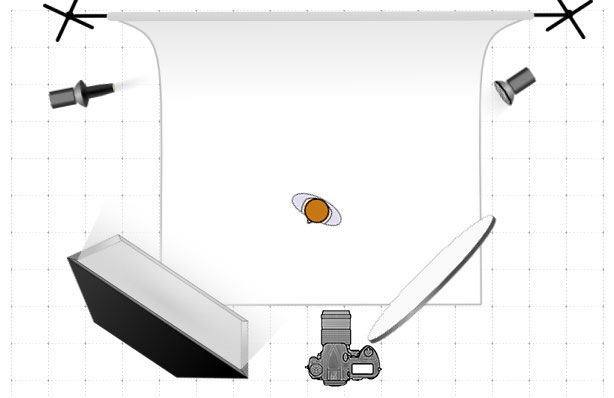
My main/key light is usually a softbox to camera left.  Unless the client says otherwise I have the subjects turn their bodies about 45 degrees to their right, showing me the left side of their face (traditionally the ‘more beautiful side’).  The main light is about 45 degrees to my left, at head height or higher (depending on ceiling height.  The secondary light is either a gridded spot or a softbox (the deeper the baffles the better) coming from the back camera right to highlight the shoulder, separate the subject from the background, and give a little rim light to the hair.  My third light is a gridded spot or a snoot raking across the background at an aggressive angle from back camera left to give a little variation to the background.  The fourth light can be powered or just a white reflector under the subject, camera front/low right.  If you’re using a reflector get it as close to the edge of the frame as possible to fill the shadow created by the key light.  When the reflector isn’t enough, I will push a little light through it with a small flash.  If the shadows are still too deep, you can bounce yet another flash off the ceiling (Assuming it’s white) to fill in the shadows or run a large umbrella camera right at a lower power to fill the shadows.

Headshot lighting setup.

4 light Headshot Portraits

This setup is assuming you A.> Have enough lights.  B.> Are working in a space large enough to fit all the lights.

3 light headshot.

With all photography, as soon as you get on site, all the rules go out the window.  Many a time, I have been called to do headshots and ended up squeezing into a room the size of a small closet.  If the walls are white, you can always bounce off them, especially for the key light, which lessens the space needed.  Sometimes I get lucky and the client likes the color of a painted wall and a backdrop isn’t necessary, but most offices are sadly painted beige, not the best photo background.

3 light, one reflector headshot.

With this basic setup you can adjust how much contrast there is, and how dramatic the lighting is just by changing the distance and position of the lighting from the subject.  This same setup can be used outside or in another setting.  If you’re outside or in a well lit location, you can get away with using  just the main key light, balancing it with the surroundings.

One light portrait.

Take these idea with you the next time you shoot a portrait.  Start from a place you know and then start to stray into the unknown.

How to Take Great Portraits with One Flash

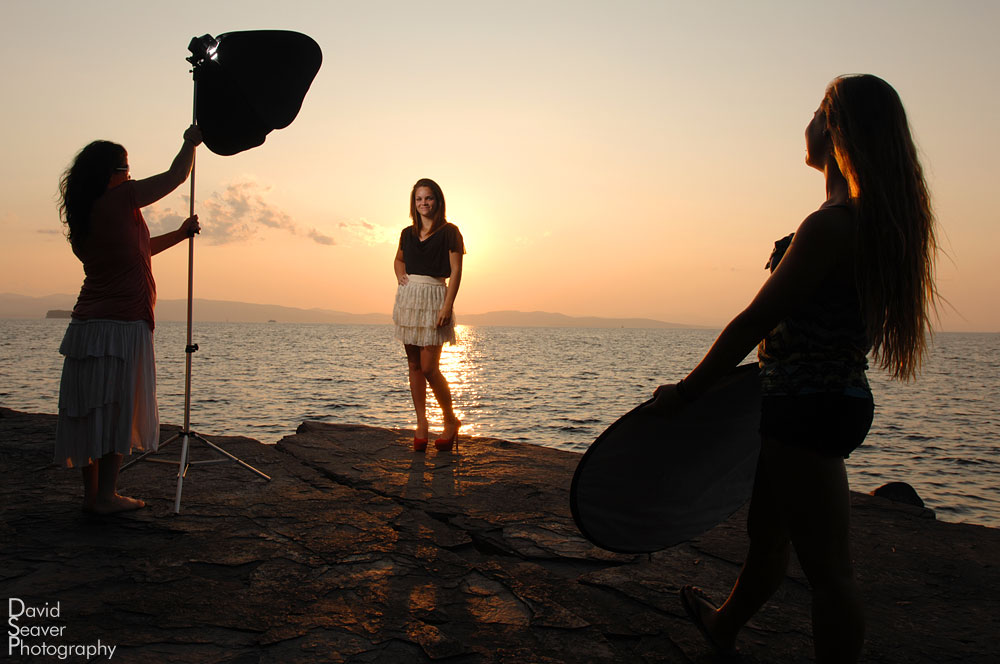
Although I always bring a whole bag, well, really a few bags full of flashes of all sizes and powers, many times I find that using one flash is an easy way to get the right lighting while still being flexible enough to follow the subject and make corrections quickly.

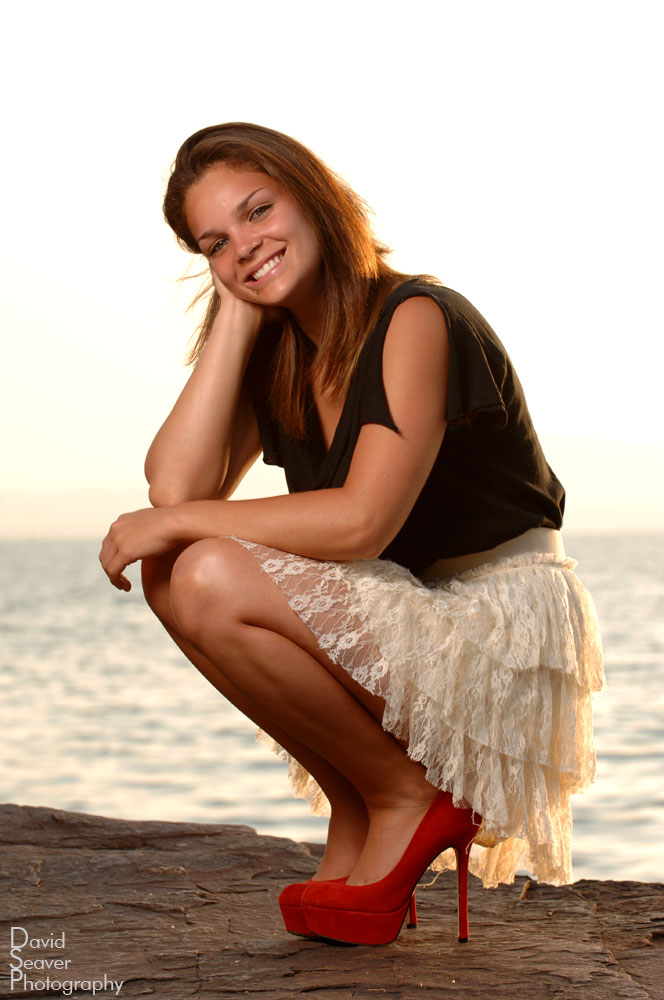
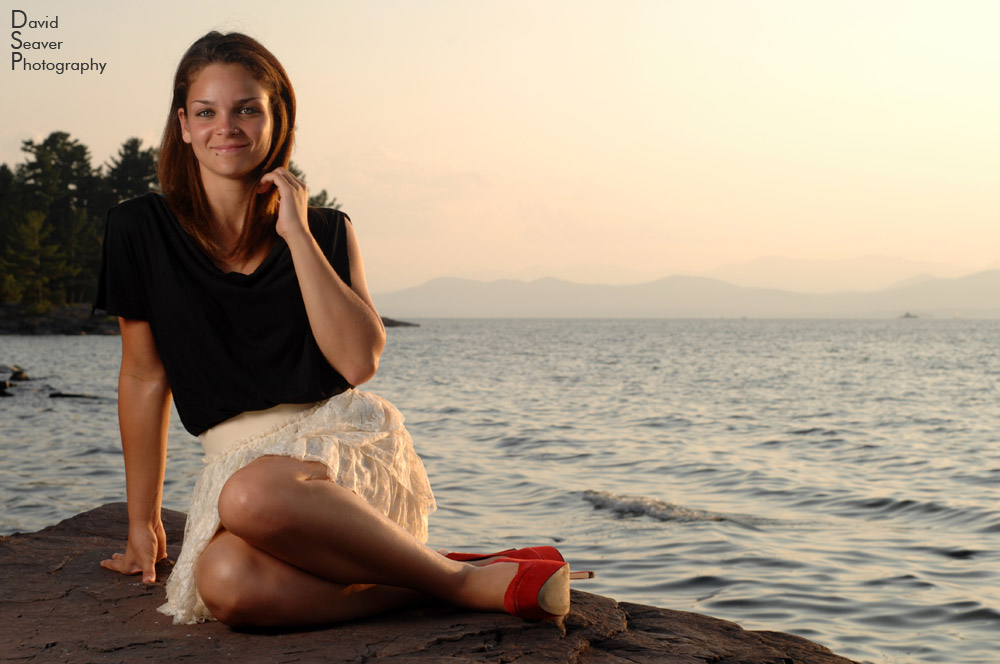
I recently shot a senior portrait session with a variety of lighting setups.  I always try to be flexible and give lots of options in terms of lighting, background, and ‘looks’.  While I am always working towards a thought out end photo, I will happily stray from that as light allows, or when things come up during the shoot, which they always do.  As we went through the shoot, I was moving back and forth from flash to available to bounce and all combinations of the two.  On these wide ranging shoots, I find that working with the different combinations of lighting helps me keep fresh perspective throughout the shoot.  Each small change of lighting can lead to a new idea.

For this setup I was using a Nikon SB-800 Speedlight with a 24″ softbox and a 48″ circular reflector with the gold side bouncing a bit of warmth back on the subject and filling in the deep shadows.  The SB-800 was triggered by radio.  I do use Nikon’s iTTL with commander and remote flashes, but for this set up I was moving back and forth, changing cameras and lenses and needed to be sure the flash would be triggered.  The bright sun has played tricks on the communication between commander and remote flashes in the past, meaning you need a pretty direct line of sight between the two.  So for this I did do some minor tweaks to the flash, set in manual mode, increasing or decreasing the power as needed.  Yes, it’s an extra trip to the flash, but we were moving around quite a bit and it didn’t seem to break up the flow too much.  The movement and small break in shooting will also give the subject a little space to catch their breath before getting back into it.  I find that with professional models you can get away with more sustained shooting, but with amateurs a little break is always helpful, if only for a few seconds.

The Nikon SB-800 had the dome diffuser off, but the wide angle flap down.  I generally use the dome diffuser to give a slightly softer light through the softbox, but due to the intense sun I needed that extra bit of power that the dome diffuser takes away.  I was running the SB-800 between 1/4 and full power.  Having blown a few SB-800’s running on full power in the past, I generally try not to use it too much, but if I have to, I try and slow my shooting down to allow the flash to safely recycle without frying.  The amount of ambient light and strength of the sun also kept me using the SB-800 instead of my SB-900 which will shut down if it starts overheating.  Yes, it saves the flash, but a flash that stops working mid-shoot, while under normal circumstances is frustrating.  I’ve heard good things about the SB-910’s thermal shutoff.  Hopefully they have extended the range of heat allowed, or figured out a way to get rid of the heat more efficiently.

I could have just as easily used a battery powered monolight such as my SP-Systems Lancerlight 160 or an Elinchrome Ranger.  I choose to use a smaller flash only for ease of movement.  The larger monolights are just that, larger, so if you’re running around moving the light every few exposures, having the small flash helps keep the hassle to a minimum.

How to take great photos with studio and small flashes

I was recently asked a question regarding how to get proper exposure mixing big flashes with small flashes.  This person was having trouble triggering the light slave on a SP-Systems Excalibur studio flash with an on camera flash, this time with a Nikon D60.  Specifically, with the camera and built in flash in TTL mode, the camera was triggering the studio flashes through their own light slave, but they couldn’t see the flash in the photos.  This can apply to any speedlight with more than just manual settings.  The TTL, iTTL, or any other ‘intelligent’ communication between the flash and the camera or the flash and other flashes include more than one flash per shot.
Here is the original question:
“I am using SP Systems Excalibur 3200 strobes and a Nikon D60. I’m having difficulty getting exposure to work out without going down to a 1/6 shutter speed. I think the lights are out of sync with my camera.”
My answer:
If you are triggering the flash with the D60’s on camera flash (or another speedlight), with it set to TTL you will have to change it to A (aperture priority) or M (manual).  The TTL works by sending a pre-flash (too fast for us to see) that determines the correct exposure of the scene, but it will also trigger the SP-Systems or other passive light slave a fraction too early, on the first pulse of light, creating an under exposed photo due to the large flashes not being included in the exposure.  I’m guessing this is the problem.  With A and M modes the flash only sends out one flash.  The aperture mode fires the flash, then the flash itself determines the exposure and shuts the flash off, the manual mode just fires what you tell it to (exactly like the monolights).
The SP-Systems lights are great, I’ve been using them for about 10 years now and have accumulated a number of different ones.
This is how I approach lighting with flash, big flash, small flash, and mixing the two with ambient light.  First, start thinking of flash in these terms.  F-stop relates to the flash, shutter speed relates to the ambient (normal room light).
Here’s a good starting point with flashes.  To start, set your camera on manual, with a shutter speed somewhere between 1/30 and 1/100 (1/100 is about the fastest the lights will sync before seeing the shutter curtain’s dark streak along the top, unless you’re using a Pocket Wizard or specific flash models that will trigger faster).  If you’re only using flash to light the scene, set the shutter to 1/100 (or the highest flash sync speed), this will also give you a good starting point from which you can move later.
Next is how you are triggering the light.  If you are using the “pc-sync” cord (or a wireless remote, Pocket Wizard, Radio Popper, etc) included with the flash, then there shouldn’t be a problem with timing.  I would start with the flash set to about 1/4 power, which will give you an exposure of somewhere between f5.6-f11 depending on how close the flashes are to the subject.

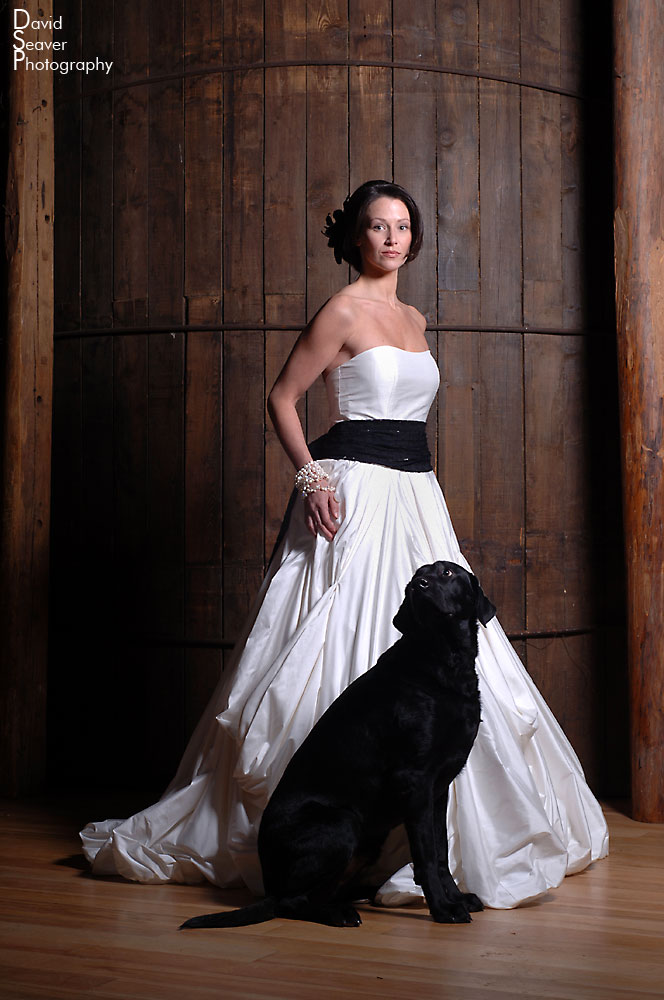
(Wedding dress model lit with one flash. SP-Systems Excalibur 3200 flash with a 32" octagonal softbox, camera right. Nikon 17-35mm 2.8, Nikon D2x. The shutter was fast enough to eliminate the ambient light, creating the deep shadows and dramatic lighting.)

Find that perfect exposure by fine tuning either the flash power or your aperture. Once you’ve gotten the flash exposure you’re looking for, you can slow down the shutter speed to bring up the ambient light level so you can mix flash with existing light.

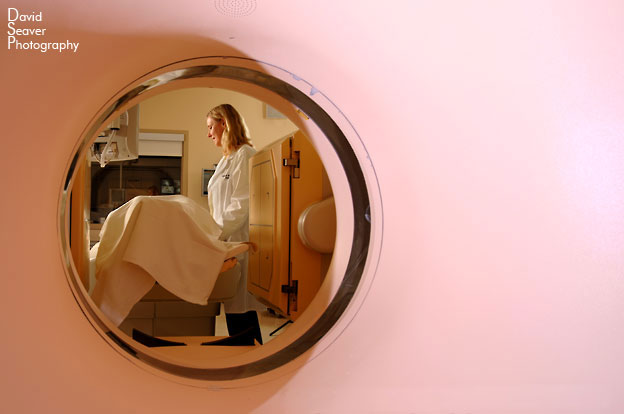
(Doctor and patient with MRI machine. Multiple flashes light this scene. Two Nikon SB-800 Speedlights provide the purple to light the foreground. A SP-Systems monolight with a hex-grid camera left adds a little pop. A SP-Systems Excalibur 3200 with umbrella, camera right, fills in her back, the wall and gives a little rim light on her hair. A SP-Systems Excalibur 3200 soft box camera left lights her face. Triggered with a combination of radio and light slaves. Nikon D2x, 17-35mm 2.8.)

There are times when you want total control over all the lighting in the scene, as in a studio setting, and there are other times when you want the ambient light to play a part in the scene.  This is usually the case in larger environments when it’s not possible to light huge spaces.  Although there are millions of ways to approach lighting with flash, I try to remember to keep the effect of the flash hidden (unless I want to make it the focal point ;).  If you can light a scene well and keep the flash hidden, you’ve done well.  Flash can be unruly at times and can really get away from you.  Sometimes it take a heavy hand, sometimes you need just a touch.  It’s the never ending struggle in flash photography.  How to light it?

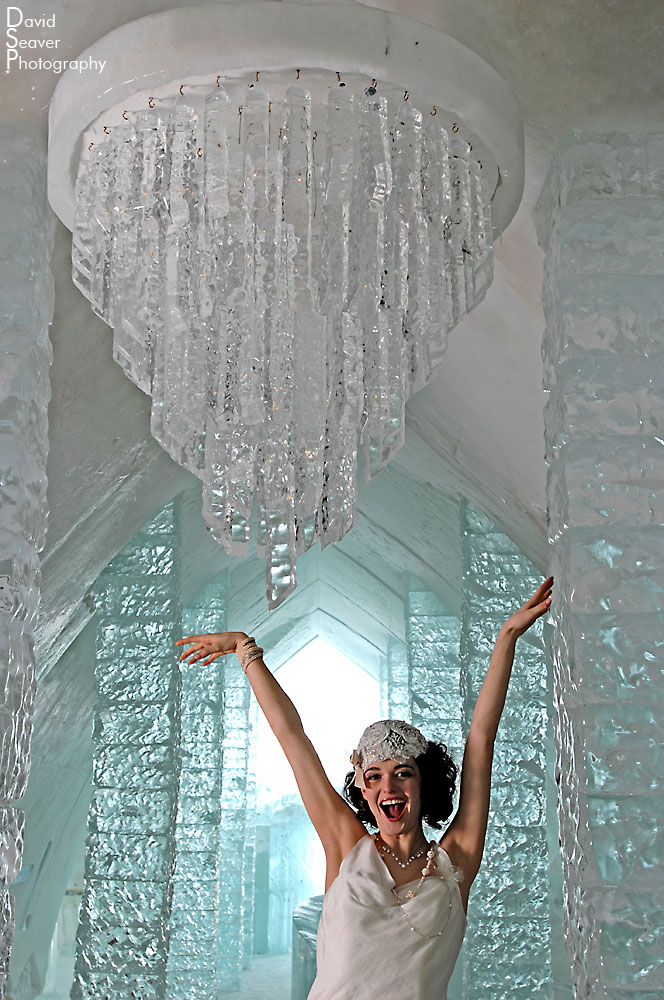
(Model lit with one flash. Balancing the ambient light with the flash (off to camera left). Both the model and I were on helper's shoulders to get the right perspective and include the amazing frozen chandelier. Monolight flash with softbox, Nikon D2x, Nikon 50mm 1.8.)

Lighting with one flash is a good place to start.  Adding more and more flashes will add more and more layers of complexity to the shoot, but can yield amazing results.  It can also be overkill and look contrived.  The key is finding the balance.

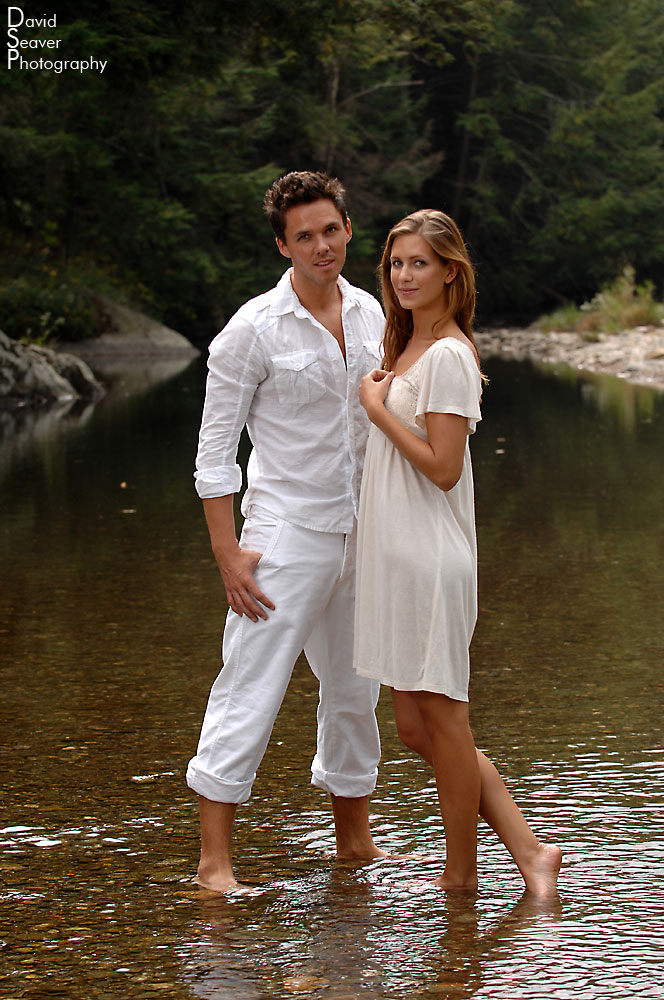
(Models standing in a river, lit with one flash. One flash, SP-Systems Excalibur 160 with battery pack and umbrella, camera left. Triggered with a radio trigger. Nikon D2x, Nikon 70-200mm 2.8. Moments later the umbrella caught a tiny gust of wind and fell into the river! Note to self only use an umbrella outside with someone holding it. Not to worry, after a thorough drying, I still use the flash to this day.)

Lately I’ve been mixing big and small flash together.  Using the big flash for the heavy lifting and small speed lights for smaller highlights or even the key light, if it’s close enough.  I’ll even mix wireless i-TTL flash with studio flash, running a radio trigger to set off the big flashes and the i-TTL SB 900 and SB-800 working together to fine tune specific spots.  With all these numbers flying around, up and down, things can easier get out of control, but that’s why we shoot.  Make mistakes, look at them, repeat.


How to Take Great Photos – Joe McNally Book Review

After giving myself an early holiday gift of Joe McNally’s new book, Sketching Light, an Illustrated Tour of the Possibilities of Flash, I can say that this is one of the best books for on-location lighting covering both big flash and small.  McNally, a member of the elite group of shooters who works regularly for National Geographic, takes the reader from start to finish on how he created the photos in the book.  He’s included sketches and meta data, production shots, hilarious stories and some insightful musings on being a photographer.  If you’re looking to up your flash game, get some inspiration or just get a better understanding or how a pro creates a photo, this is the book!

(It seems to be on sale as well!, though not sure how long)

Sketching Light: An Illustrated Tour of the Possibilities of Flash (Voices That Matter)

By Joe McNally


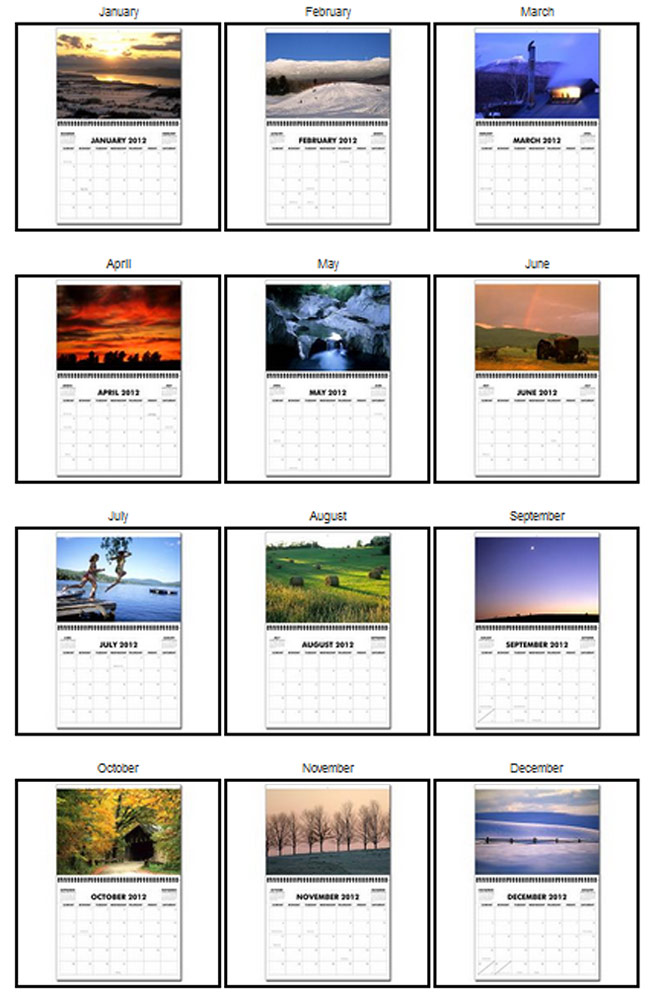
Two Calendars with Great Photos

I’ve finally done it!

Here’s are two calendars that would make great holiday gifts or a perfect addition to your home or office wall.

Both are $19.99 from Cafe Press.

Just click on one of the photos to order.

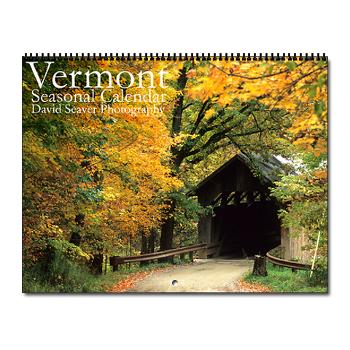
First up is full of Vermont landscape photos, 11″x17″ when hung on the wall, perfect for those who love the changing seasons.

Landscape Photo Calendar

2012 Vermont Seasonal Calendar - Landscape Photos

2012 Vermont Seasonal Landscape Calendar

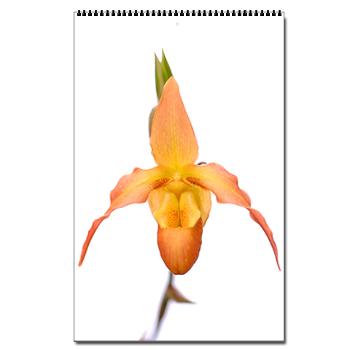
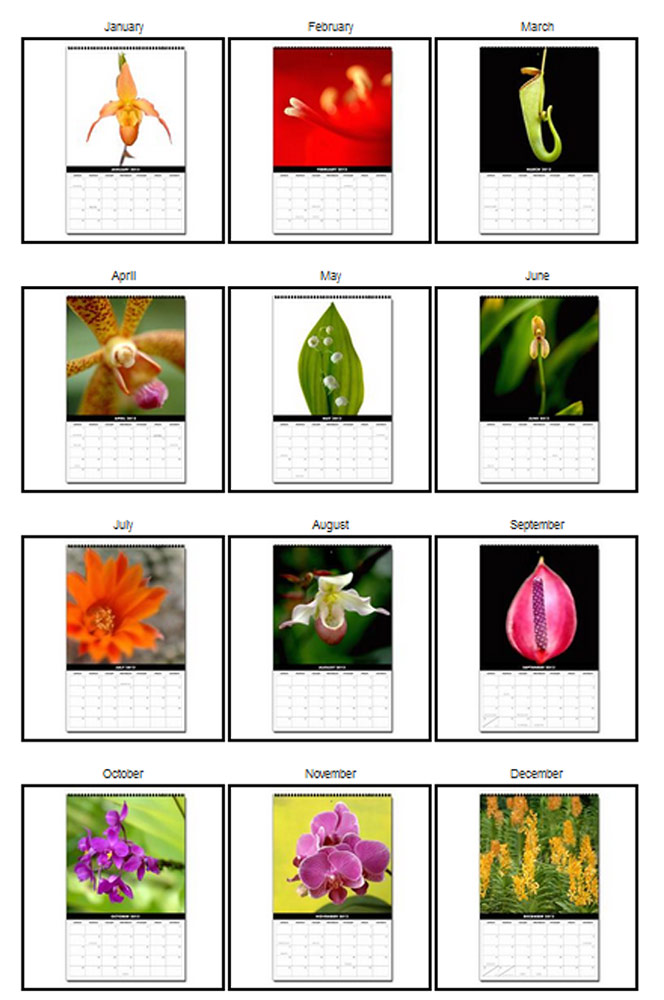
Next is all flowers, 11″x17″ vertical calendar, clean and crisp photos of flowers. Everyone need a calendar.

2012 Flower Calendar - Photos of Exotic Flowers

2012 Flower Calendar - Photos of Exotic Flowers

Everyone needs a calendar!


How to take great landscape photos

Great landscape photos generally fall into two categories, photos created with patience and planning, and photos that are happenstance.  I am a firm believer in both.  While pushing to create amazing landscape photos, there will always be images that are only realized once you are in place.

For more examples of my Vermont landscape photography, other nature photos, and many more, visit my website, www.DavidSeaver.com
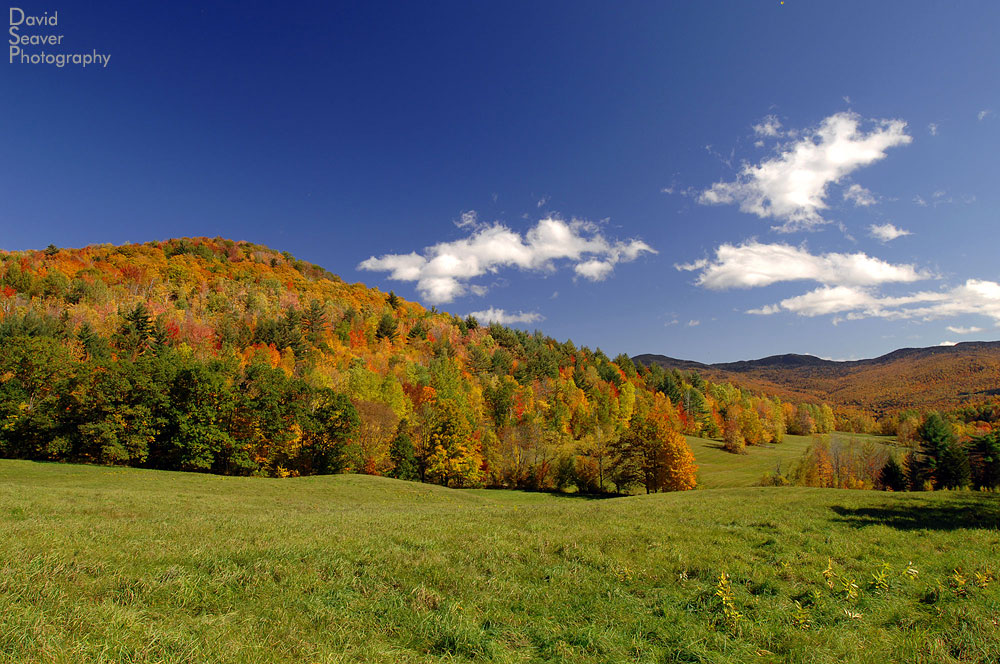
Vermont's fall foliage. Nikon D2X, 17-35mm, Circular Polarizing filter

Living in Vermont, I consider myself extremely lucky with the abundance of beautiful landscape opportunities within a short drive (or walk from the house).  Vermont’s fall foliage is legendary, and I would argue one of the world’s most amazing seasonal occurrences.  The range of colors, the mix of light, the varying weather, and the blending of seasons make autumn photography an easy draw for thousands of photographers and tourists each year.  While fall foliage may be one of Vermont’s best known attributes, landscape photography is an ongoing, year round, all weather pursuit.  I’ve spent countless frosty pre-dawn mornings racing to find the perfect frozen leaf in a field of glistening grass, and trudged through hip deep snow to get the right angle on a deep winter scene.  Each season presents it’s own highlights and peculiarities and this is where gaining as much knowledge of your surroundings, weather, sunrise/sunset times, moon cycles, and local customs and laws can take an interesting scene to the next level.  I am constantly returning to the same places in different seasons, looking for that special touch of light, or a light fog to give it that something extra.
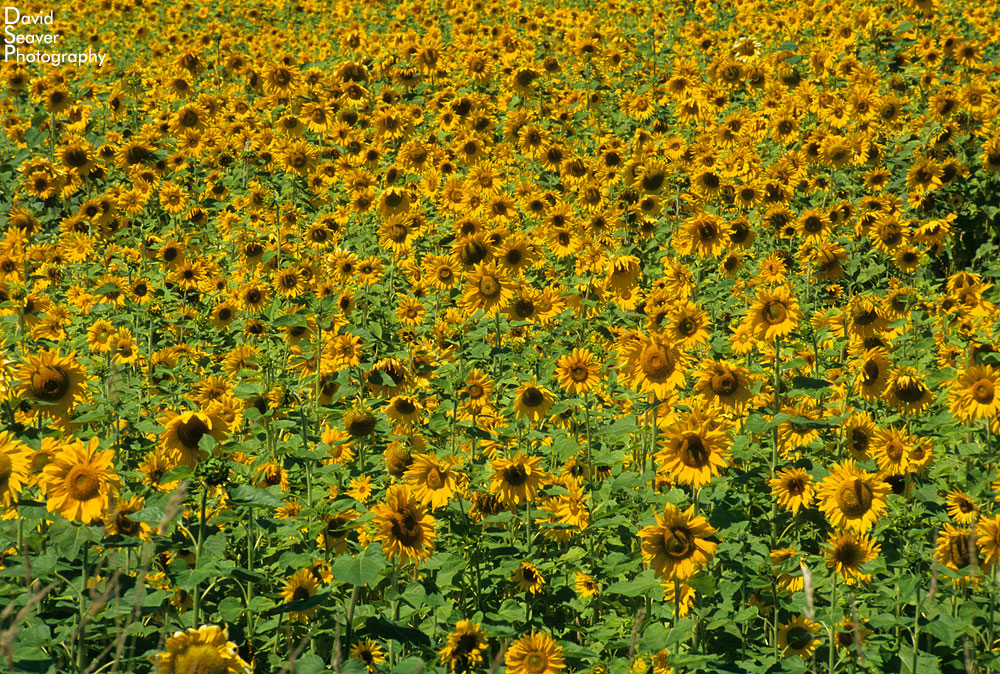
Sunflowers in Vermont. Nikon F100, Fuji Velia 50, 70-200mm

Although I wouldn’t consider myself a morning person and have tens of thousands of sunset and late day shots, there’s something magical about the early morning, before and right after sunrise.  Unique things happen in the morning.  Frost only lasts until the sun hits it, giving you a maddeningly brief amount of time to shoot those crystals.  Fog, while not unique to the morning can sometimes be most reliably predicted in the morning (I’m speaking only of Vermont here, not of coastal areas where fog can come at anytime).  In winter, fresh snow has a certain twinkle that seems to diminish as the day progresses.  Skies are also sometimes clearer in the early morning as the clouds haven’t had a chance to form throughout the day.  The earlier you get out there, the less you have to deal with traffic and human interruptions.  Driving around and stopping on country roads can be hazardous, especially with sleepy drivers on their way to work, but generally most people wave and look longingly at the scene that you the photographer is experiencing first hand.
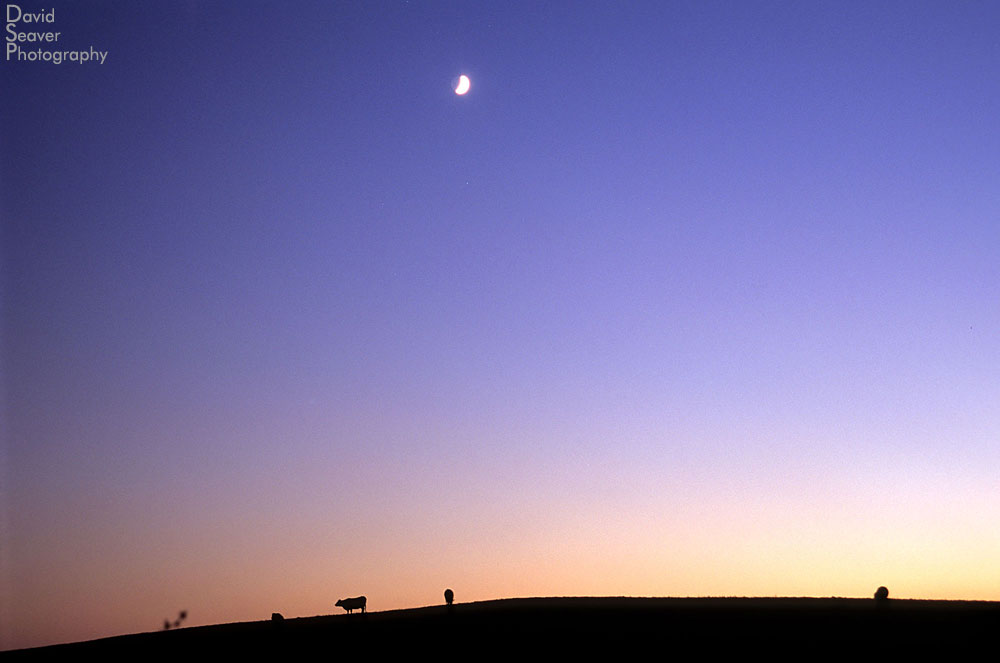
Cows at sunset, Vermont. Nikon F100, Fuji Velvia 50, 24mm

There are endless ways to shoot landscapes, from the macro to the mountains.  My approach is to head to a place that I think will give me the best opportunity to get a good wide shot, and fill in with details, tight telephoto shots, and all the other combinations once I’m there.  My forethought always involves the sunrise times, combined with where the light will be entering the scene, how the shadows play with the highlights and if there are any unique things happening.  Putting yourself in the right spot at the right time will help you get a good shot, but you still have to compose a striking and engaging image to capture a viewers attention.
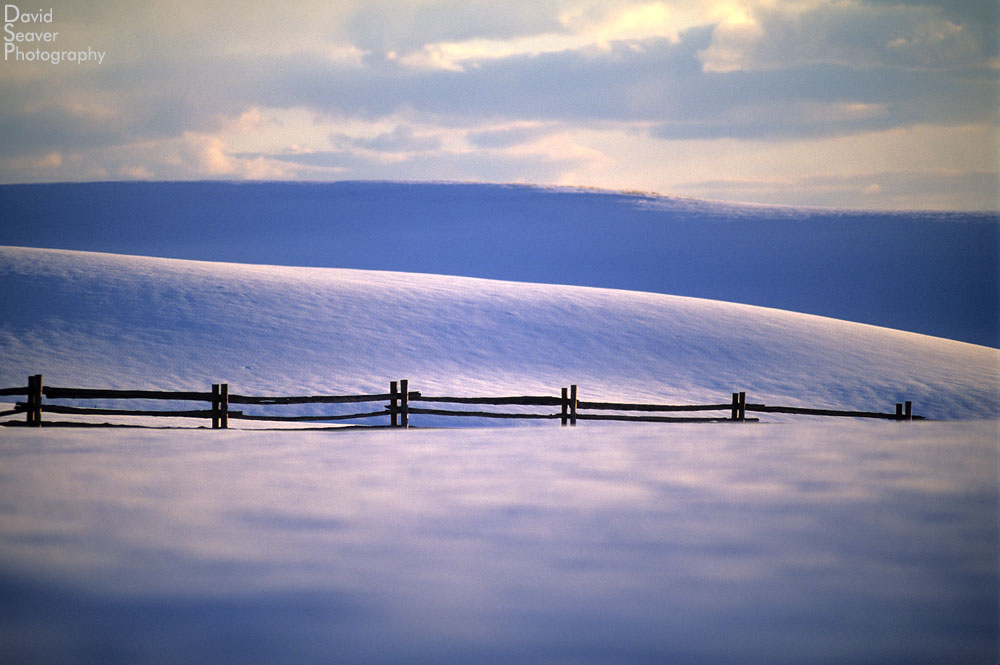
A fence in winter, Vermont. Nikon F100, Fuji Velvia 50, 70-200mm

Composing great landscape photographs is a game of  what to keep and what to cut.  Are you looking for a clean scene, or one with many parts.  A good way to approach landscape photography is to start identifying your foreground, middle ground and background.   Yes, those mountains are beautiful, but by including something, a flower or grass, in the foreground can give the photo depth and ground it with a sense of scale.  Think of Bob Ross’s famous painting shows.  He always worked with fore, middle, and background elements, each adding their own weight to the image.
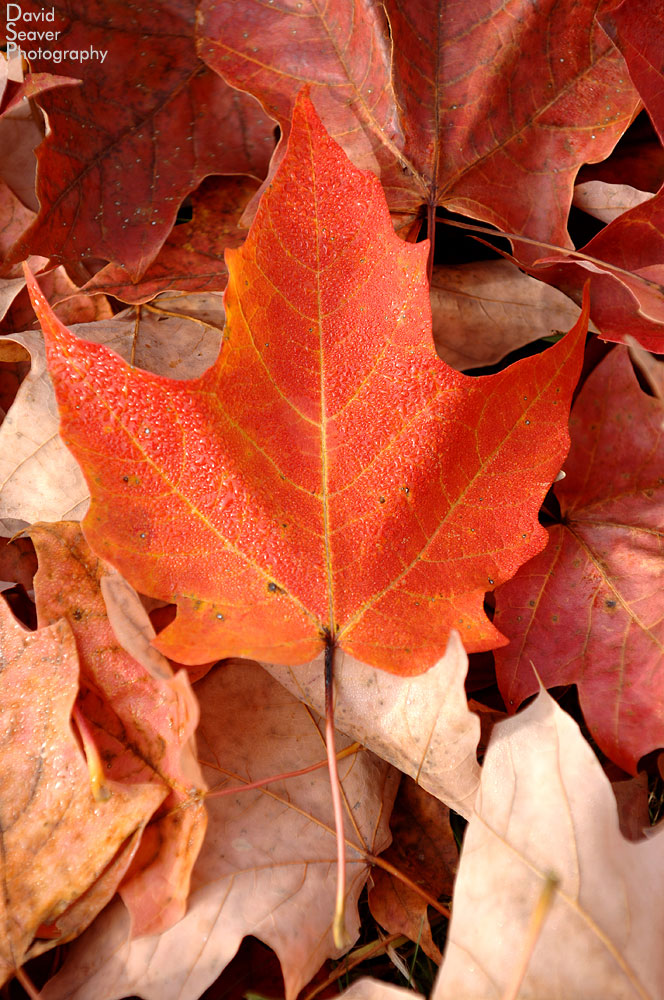
Red maple leaf in Vermont. Nikon D2X, 50mm

As I’ve discussed in earlier posts, composing great photos isn’t about putting something in the center of the frame.  Push a tree to the side, let the river trail off into the distance, give the sky lots of room (or don’t).  Move the camera around.  Lay on the ground, climb a tree.  Try to get that new perspective that no one has thought of yet.
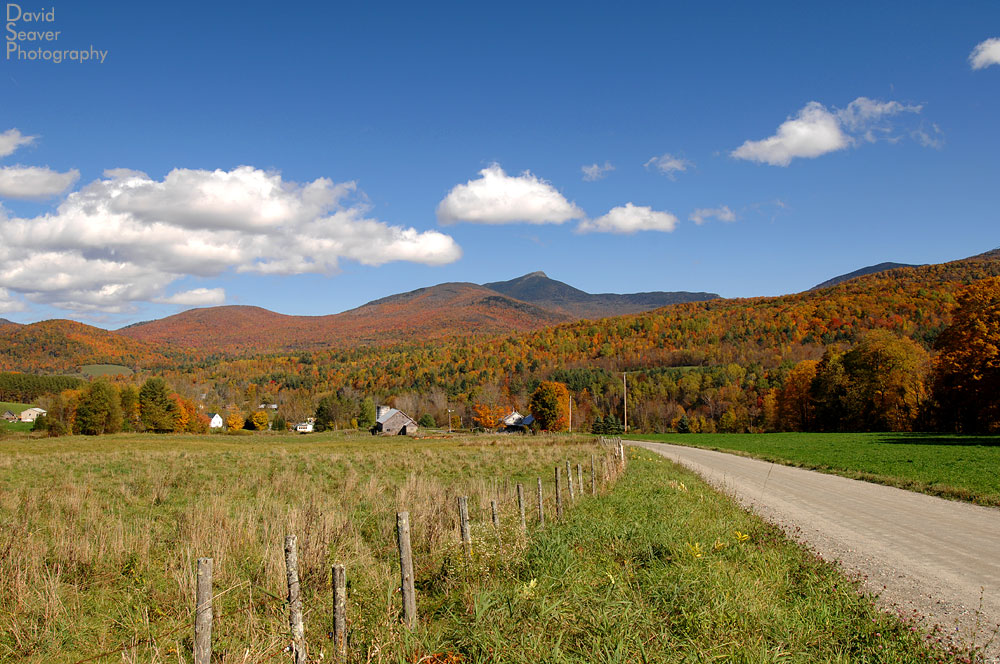
Vermont country road with fall foliage. Nikon D2X, 17-35mm

While the classic image of landscape photographers is one with a large format camera and a heavy tripod resting on their shoulder, newer digital cameras allow more ability to handhold photos with a great depth of field.  That said, shooting on a tripod at your slowest ISO and high f-stops is always a good idea if image quality is what you’re looking for.  Shooting on a tripod also forces you to slow down and pay attention to composing an engaging a great photo.  The detail of a medium or large format camera is perfect for landscape photos, but the cost and technical skill required is beyond what most people want to get into.
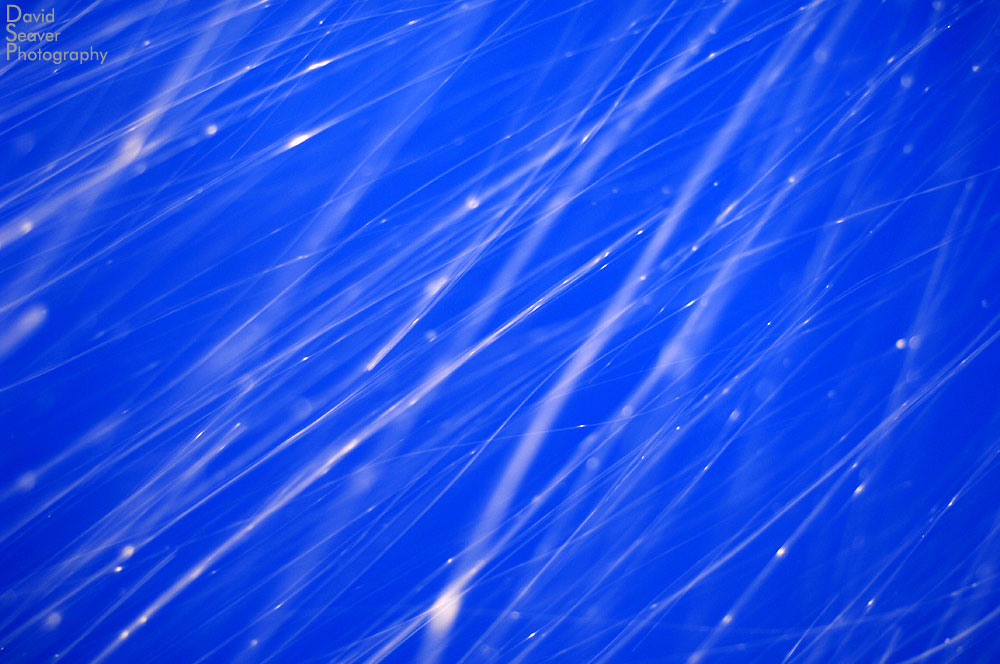
Snow falling at night. Nikon D2X, 17-35mm, 2-3 second exposure

Post production can be an integral part of great landscape photos.  The difference between a flat photo and one with dynamic tones and shades of light can come down to what happens after the fact.  The best example of post production perfection was Ansel Adams, a master printer who would coax a feeling out of his photos while in the darkroom.  If you ever get a chance to see a real Ansel Adams print up close, do it, the look so much more impressive than the copies and posters that fill our world.  While some photographs come out of the camera looking the way they should, many don’t.  I’m not opposed to cropping or burning and dodging, but adding or subtracting things from a scene changes it from a landscape photo to a digital creation.  I would consider myself a purist, shooting what the world presents.  I only occasionally use filters and limit them to polarizers and neutral density filters.  I think the colored filters can give photos a very fake look.  They stick out like a sore thumb in a bunch of well crafted images.  The same can be said for HDR photos, which tend to look gimmicky after seeing more than one.
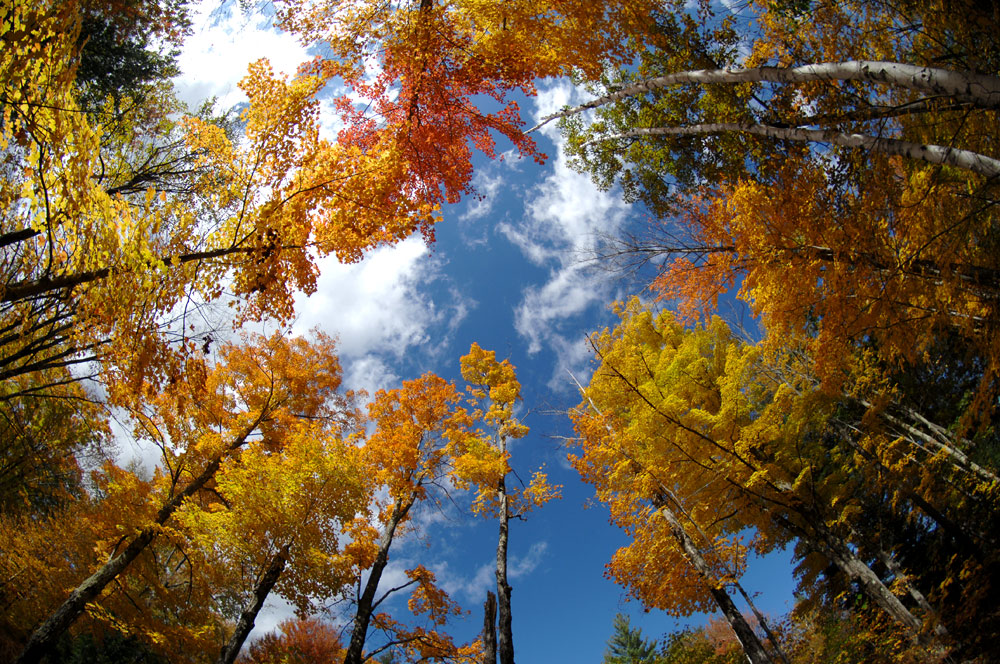
Looking up at the color of fall, Vermont. Nikon D2X, 7mm fisheye

So keep shooting.  Keep going back to places you’ve shot before.  Keep seeking out new places.  Landscape photography is ongoing and essential for preserving our nature and capturing this time and place.



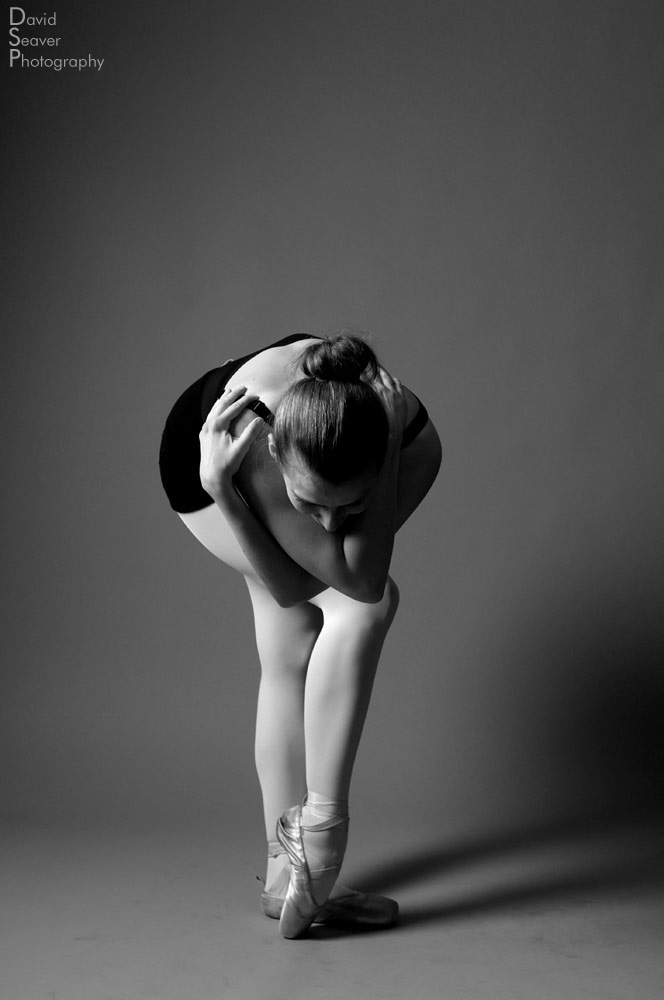
How to take great photos of a ballerina in the studio

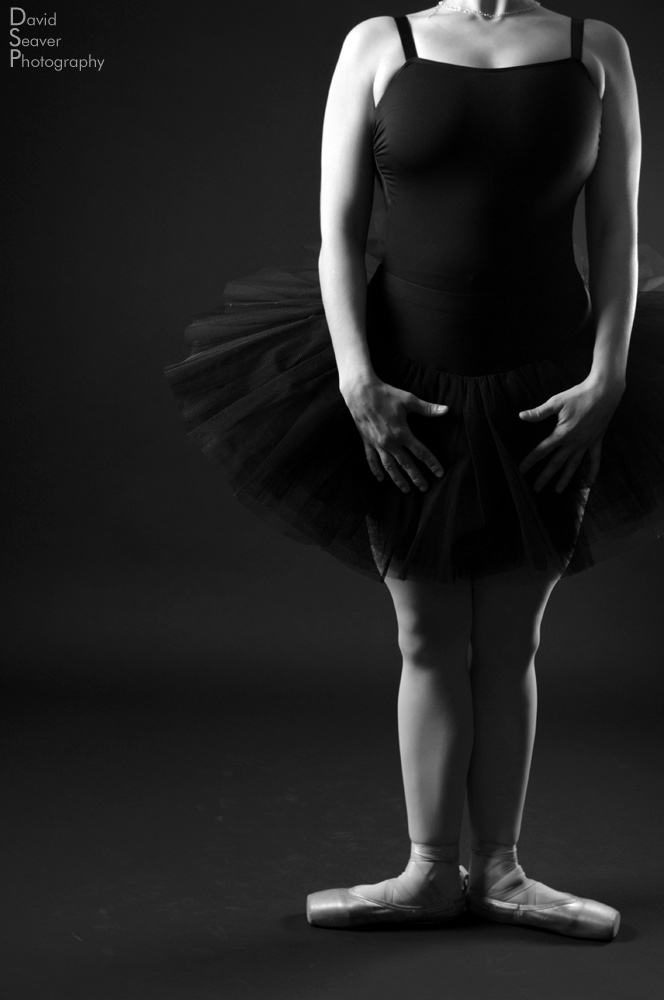
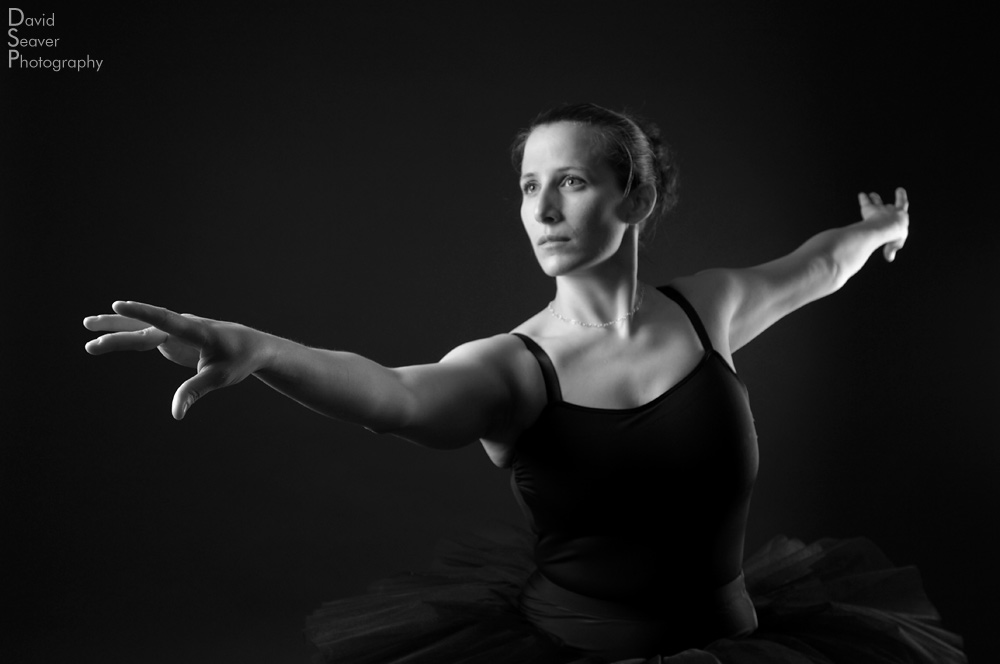
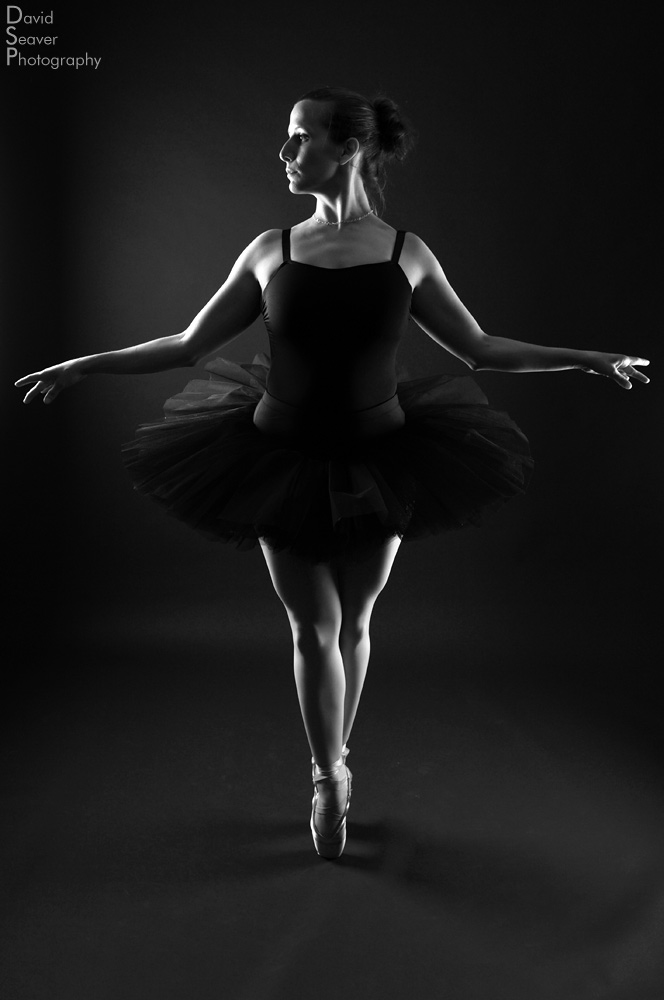
After getting some awesome photos of Sarah dancing at sunset on Lake Champlain, we met back up at the studio to create some abstract, clean and simple photos to complement the dramatic outdoor ones.

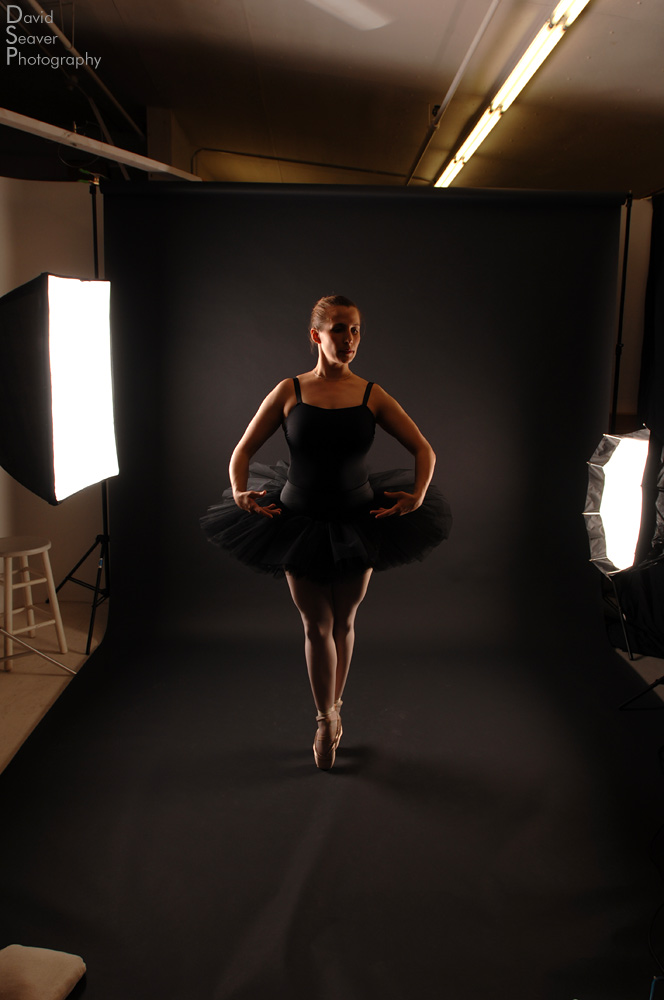
We started on a “fashion gray” backdrop, but when I looked at the camera, all I wanted was a nice clean black backdrop to keep the focus on Sarah dancing.  After I switched backgrounds, the photos started to look better.  I was using an extremely simple one and two light set up.  The two lights I used were both SP-Systems, 3200 Excalibur.  Both lights had softboxes on them, one using a 2’x3′ softbox, the other a 36″ hexagonal softbox.

I was looking for soft, directional light.  I tried to eliminated any unwanted light bouncing back into the scene by putting up a black muslin backdrop blocking a white wall on one side (the other side I would just have to deal with what came bouncing back).

Most of the lighting was aggressively side lit.  I was attempting to get high contrast, good definition along the edges, and good fall off of the light as it wrapped around her.  The lights were placed between 70-90 degrees from the camera.  Enough to get the edge lit, but with a little spilling over the front of Sarah to get some definition.

The lights were triggered with a radio slave.

Shooting black on black can cause a few issues, namely in post production trying to separate the two, but it’s easily overcome with a little selective burning.

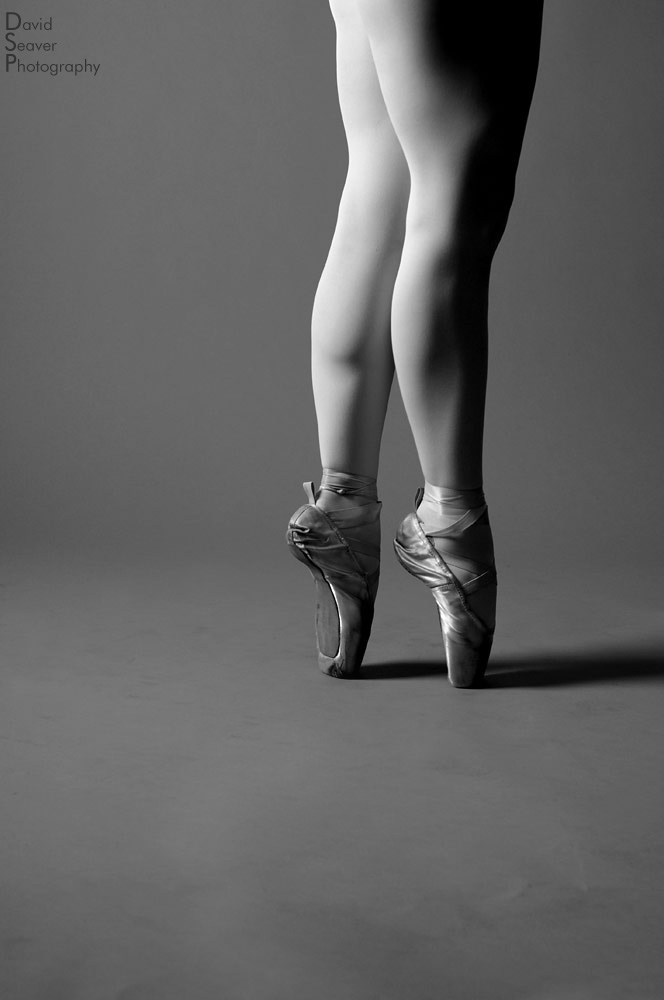
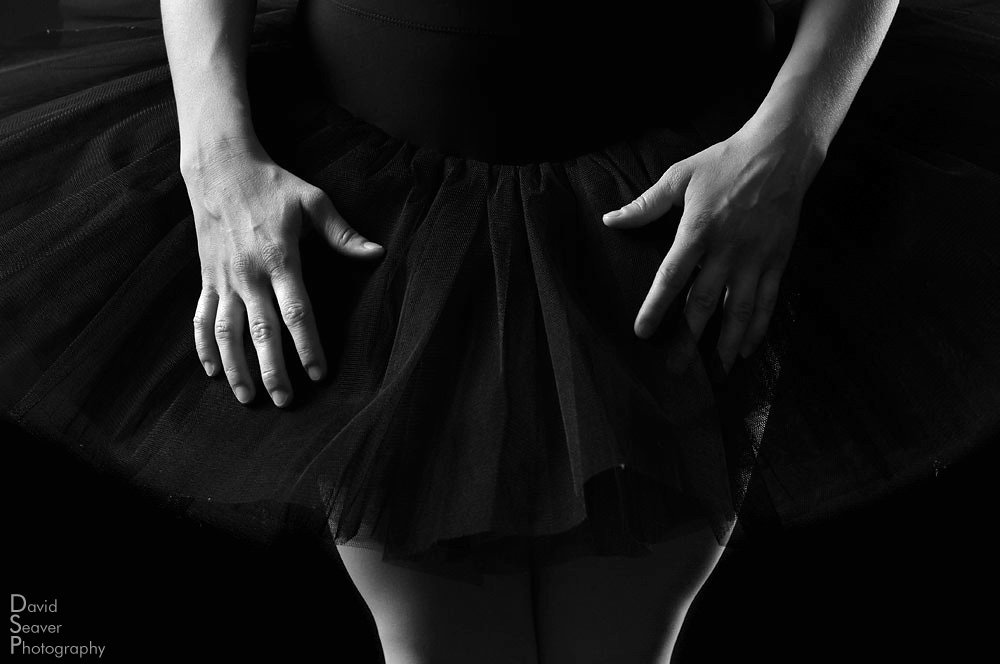
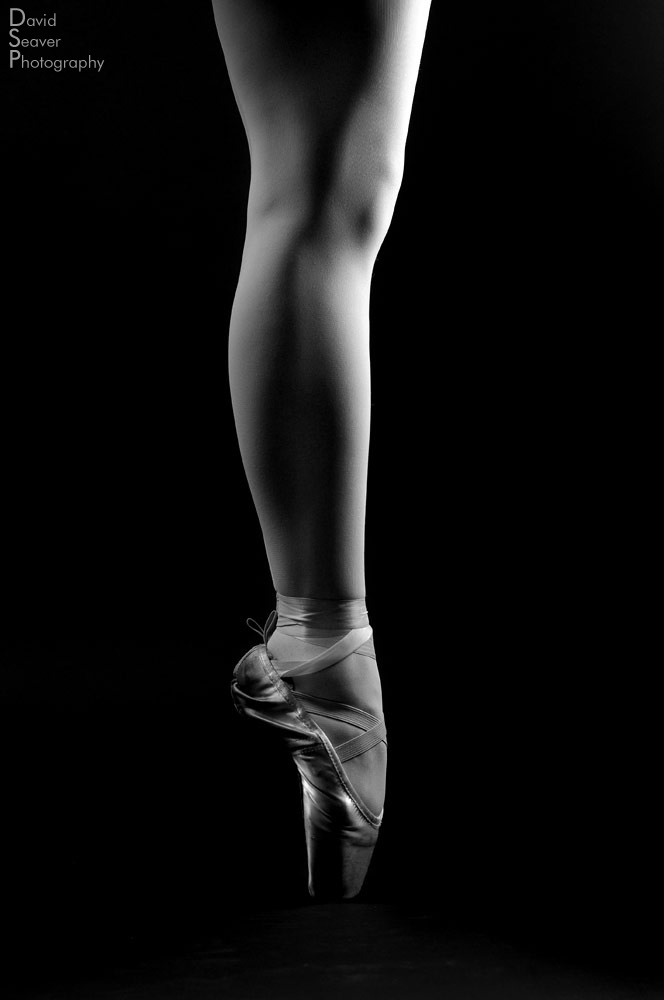
When the aim is to take abstract photos, I generally try and look for slices of a whole shot.  I try and focus of the curves and angles of the arms, legs, whatever makes interesting angles.  Then I shoot and shoot.  Changing things up as much as possible.  I found myself moving the lights just a hair forward and backward as I would lose Sarah in deep shadow, or get her too evenly lit.

Even with an ‘easy’ shoot and setup, it’s always challenging to get the right shot.

We started with a simple pose, one light, grey background.

Nikon D2x, 17-35, f6.3, iso 100, one studio flash, soft box

Nikon D2x, 17-35, f6.3, iso 100, two studio flashes, soft boxes

Nikon D2x, 17-35, f6.3, iso 100, two studio flashes, soft boxes

Nikon D2x, 17-35, f6.3, iso 100, two studio flashes, soft boxes

Here’s a quick shot of the setup.  Very simple.

Nikon D2x, 50mm, f5.6, iso 100, one studio flash, soft box

Nikon D2x, 50mm, f5.6, iso 100, two studio flashes, soft boxes

Nikon D2x, 50mm, f5.6, iso 100, two studio flashes, soft boxes

Let me know what you think.

More to come…


How to take great photos of a ballerina at sunset

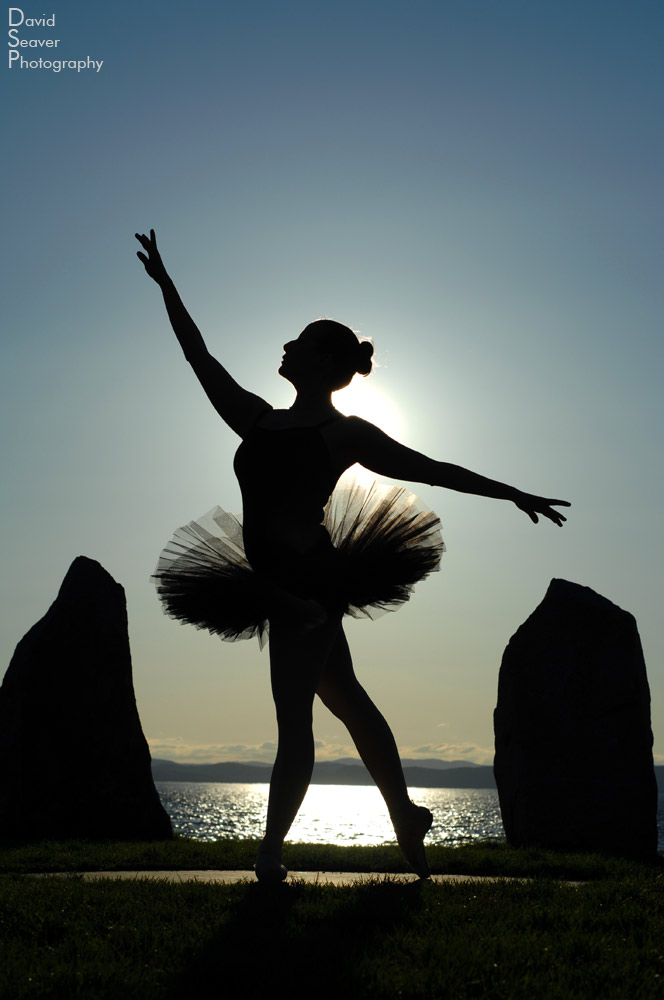
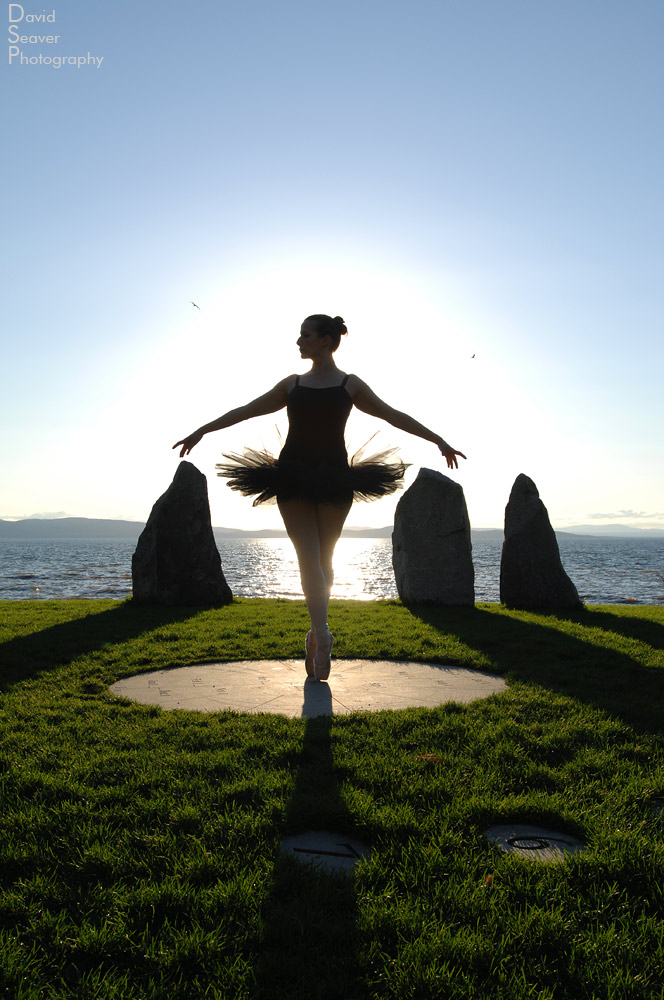
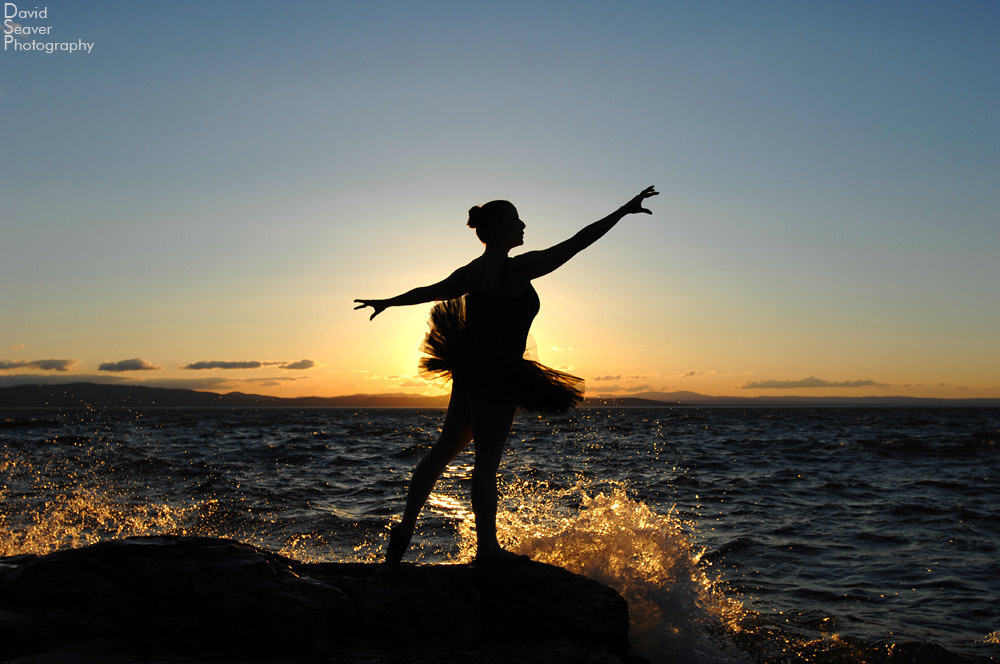
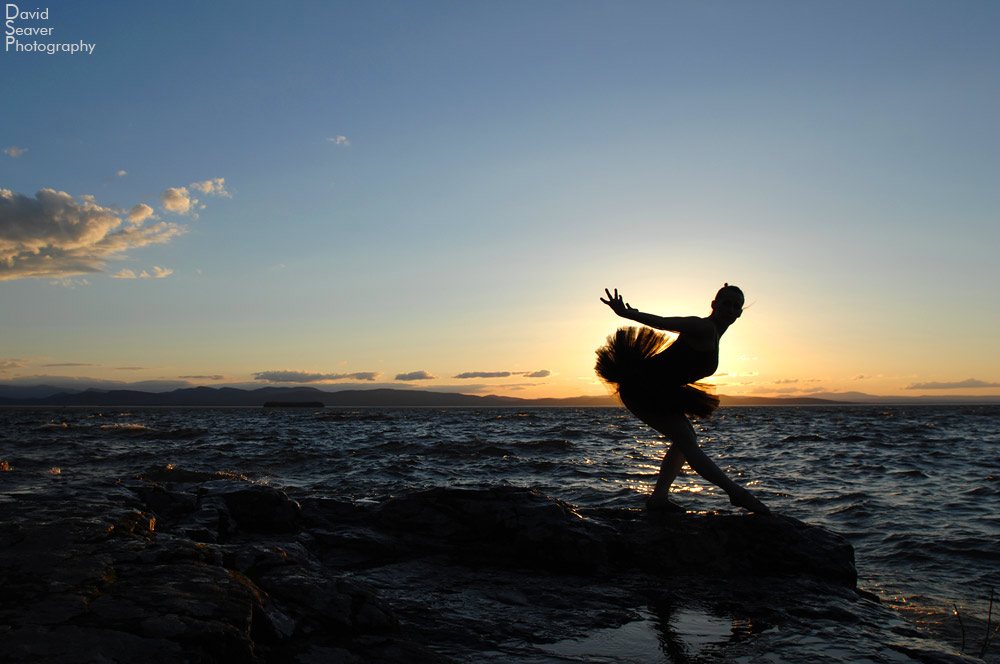
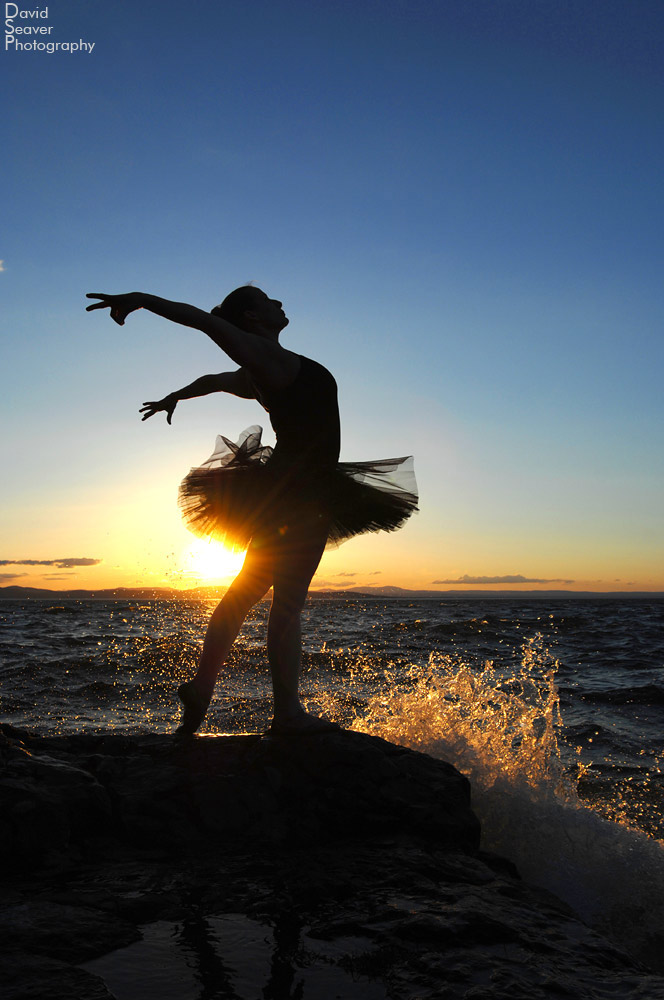
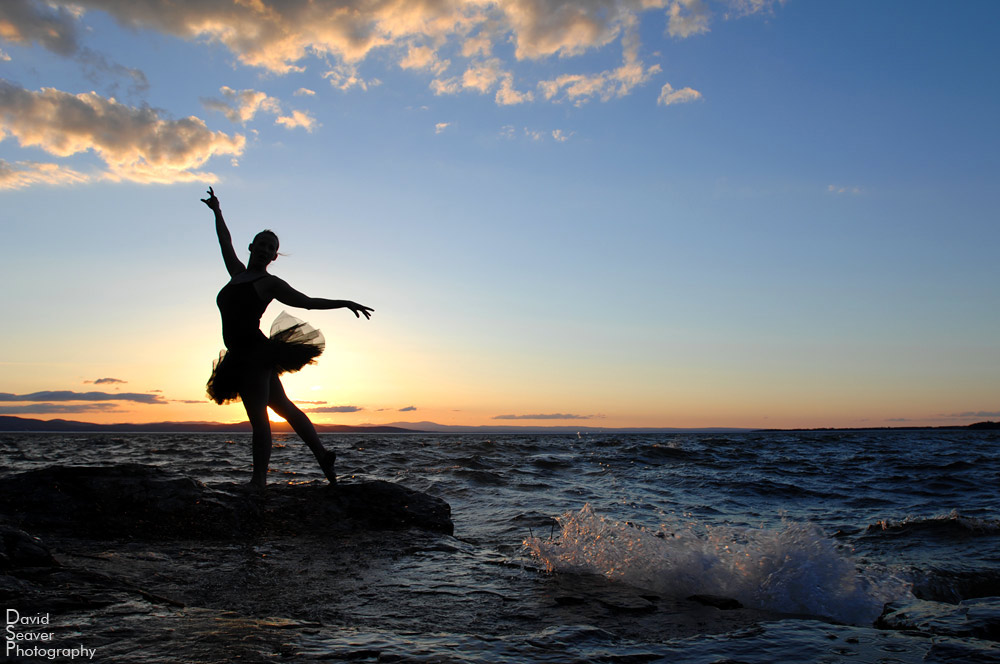
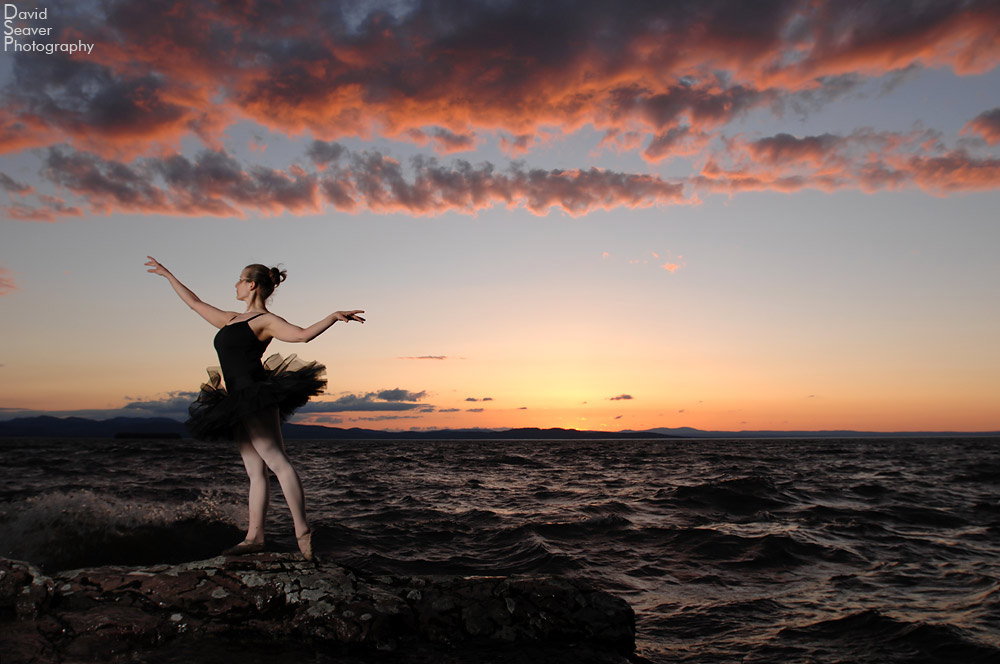
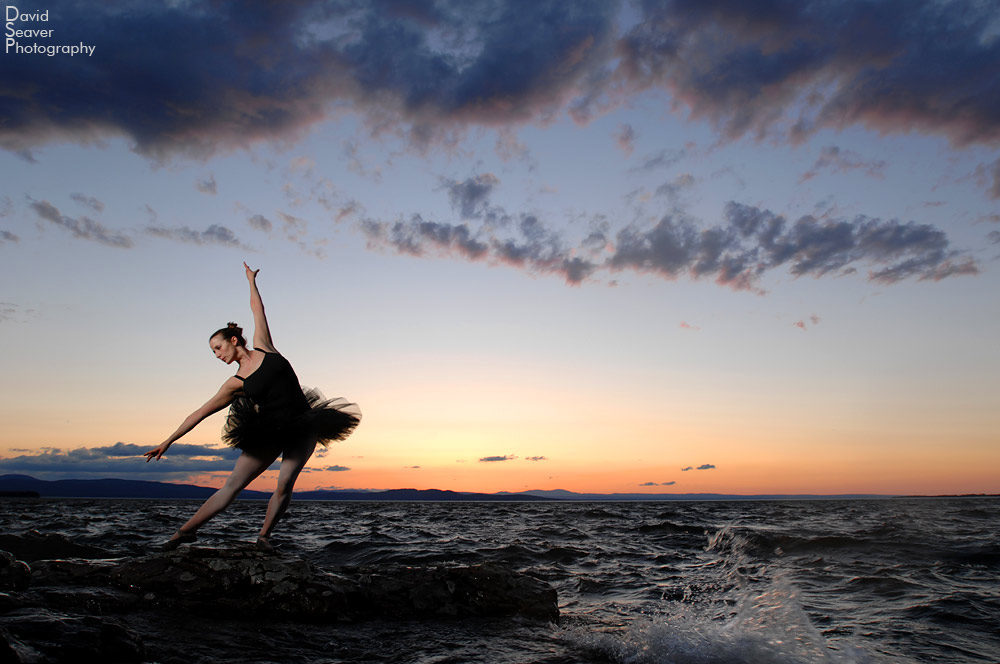
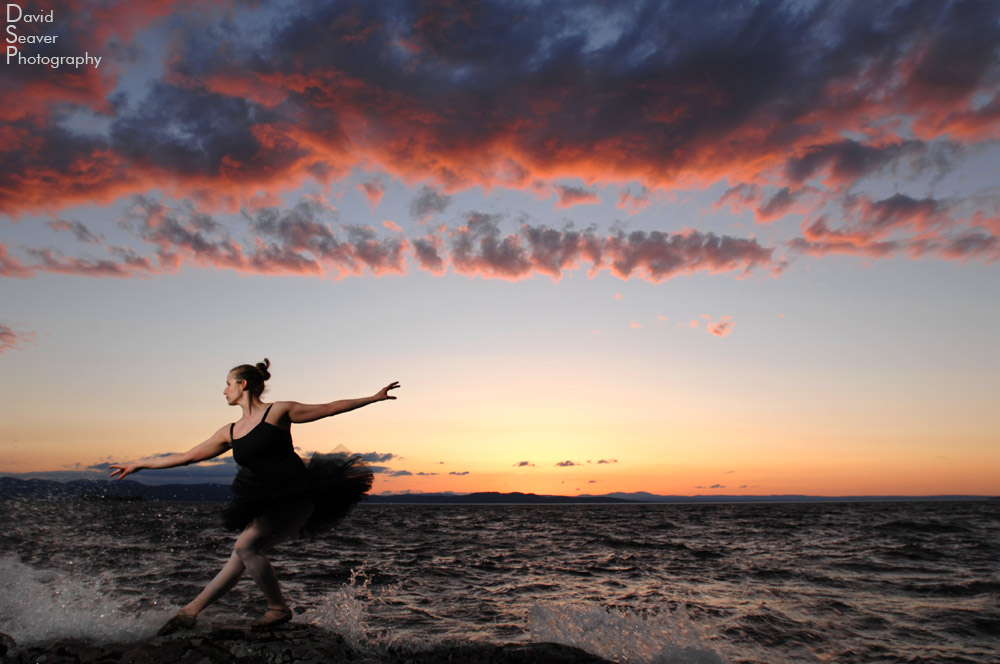
I had the wonderful opportunity to photograph ballet dancer Sarah Steward dancing along the shores of Lake Champlain the other day.  After the crazy rain we’ve been having, the skies cleared and a magnificent sunset gave us just the backdrop we were looking for.  The balmy weather quickly changed to strong winds and 38 degree water soaking us, but I think the results are worth the temporary discomfort.

As always, all the photos are available for sale as prints or digital stock here.

The setup for these photos is fairly simple.  The main shot we were looking for was a silhouette of her dancing with Lake Champlain and the Adirondack mountains in the background at sunset.

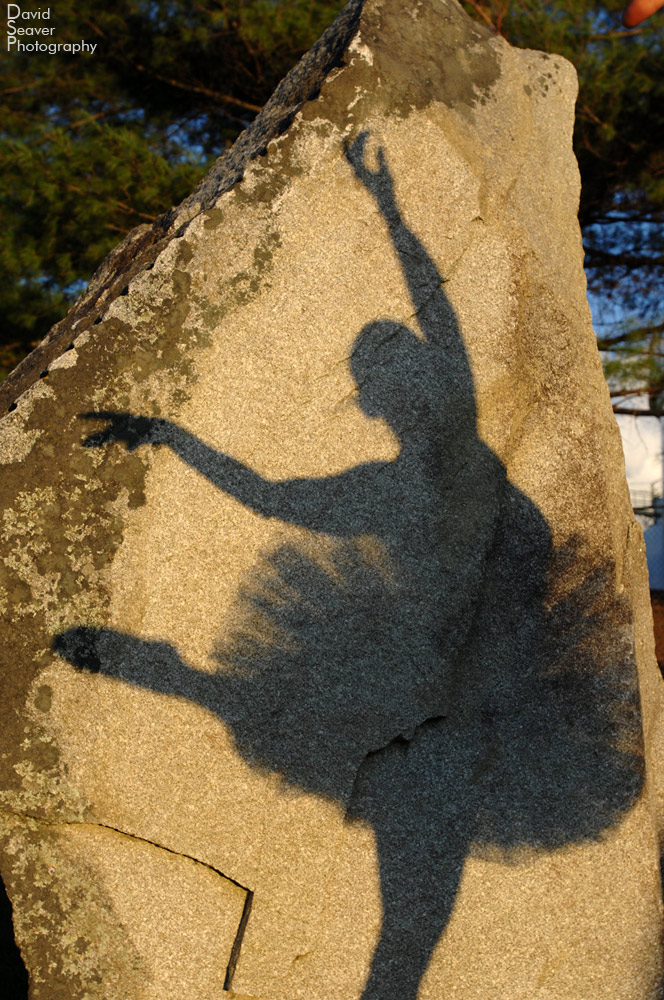
The main thing about shooting silhouettes is to watch out for lens flare.   It can sometimes look nice to incorporate the lens flare into the shot, but I was looking for a clean silhouette and the less flare the better.

Lens flare is from unwanted light striking the lens glass.  It manifests itself in two basic forms, a haze that can wash out the deep shadows of a silhouette, and dots of rings of light coming from the direction of the light source.  If you’re shooting directly into the sun or another light source, there’s really nothing you can do about it, but if the light is just out of frame, you can shade the lens to reduce the flare.

Using the lens hood is a good place to start. I had my assistant holding a reflector just over the end of my lens to cast a shadow on my lens and cut out the flare.

All of these photos were shot with Nikon’s D2x camera with it’s ISO set to 100.  The D2x may not have the most sensitive sensor, but at 100 ISO it produces some of the smoothest and best files I’ve seen out of any current digital camera.

Nikon D2x, 50mm, f1.8, 1/2500 sec

Nikon D2x, 50mm, f7.1, 1/1250 sec

Nikon D2x, 17-35, f7.1, 1/180 sec

Nikon D2x, 17-35, f5.6, 1/500 sec

Nikon D2x, 17-35, f7.1, 1/500 sec

Nikon D2x, 17-35, f5.6, 1/500 sec

Nikon D2x, 17-35, f5.6, 1/500 sec

Nikon D2x, 17-35, f3.5, 1/100 sec, SB-900, 16″ softbox, radio transmitter

I decided to add a little light to really make things pop.  I was using a Nikon SB-900 with a 16″x16″ softbox, camera left, tightly held by my assistant as the wind was really picking up.  I would have used the Nikon i-TTL, but there was too much light, and the wind was really whipping, so I decided to trigger the flash with a radio transmitter to ensure it would fire each time.  The flash was set to M 1/4 power.

I was trying to balance the ambient light with the flash. I had to keep the shutter speed below 1/160th for the radio transmitters, and wanted the sunset to be darked a bit more than the flashed area to get some real deep colors in the sky and mountains.  The ambient it about 2 stops under normal exposure, and the flash is right on.

Nikon D2x, 17-35, f5, 1/100 sec, SB-900, 16″ softbox, radio transmitter

Nikon D2x, 17-35, f5, 1/100 sec, SB-900, 16″ softbox, radio transmitter

More to come.