How to Take Great Business Headshot Portraits
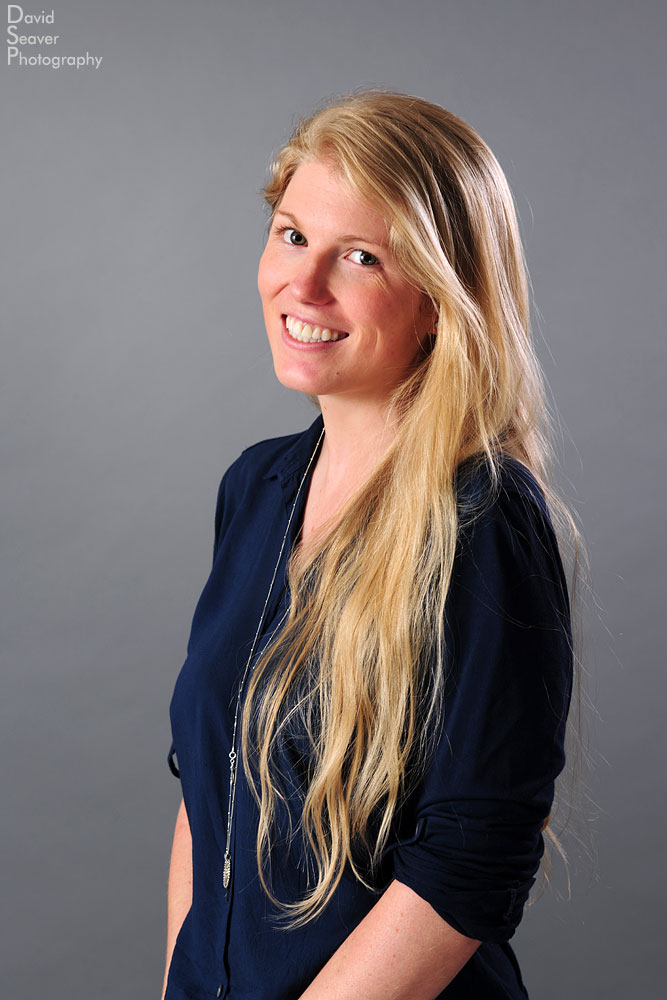
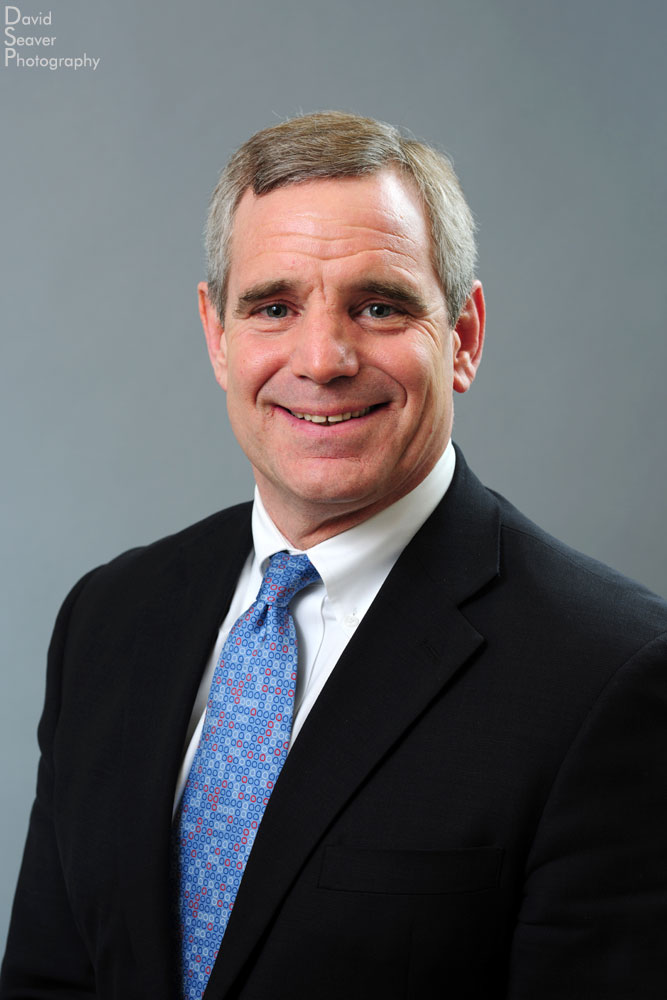
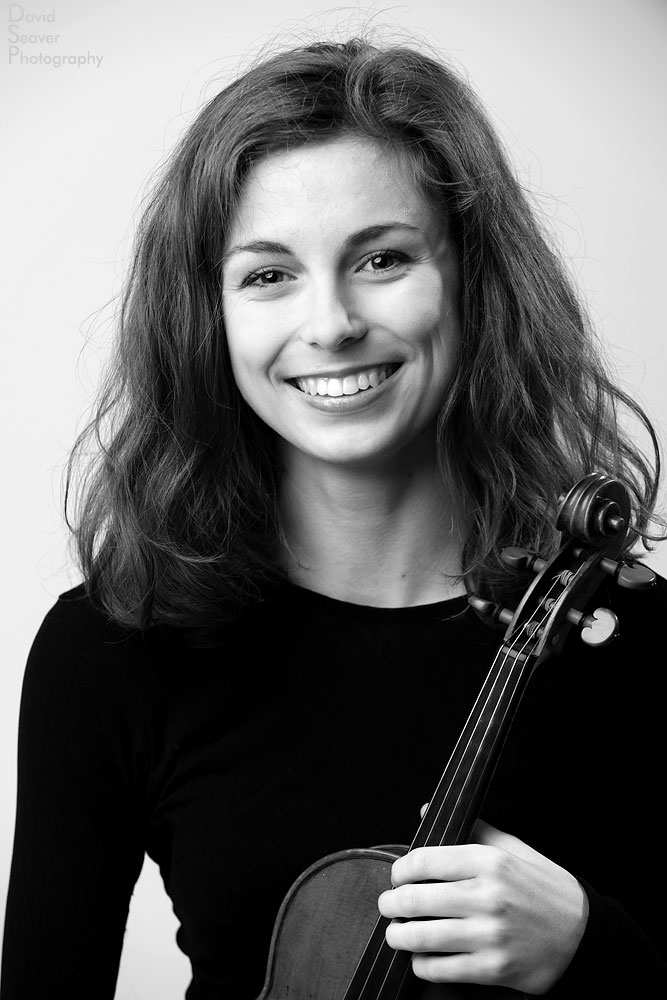
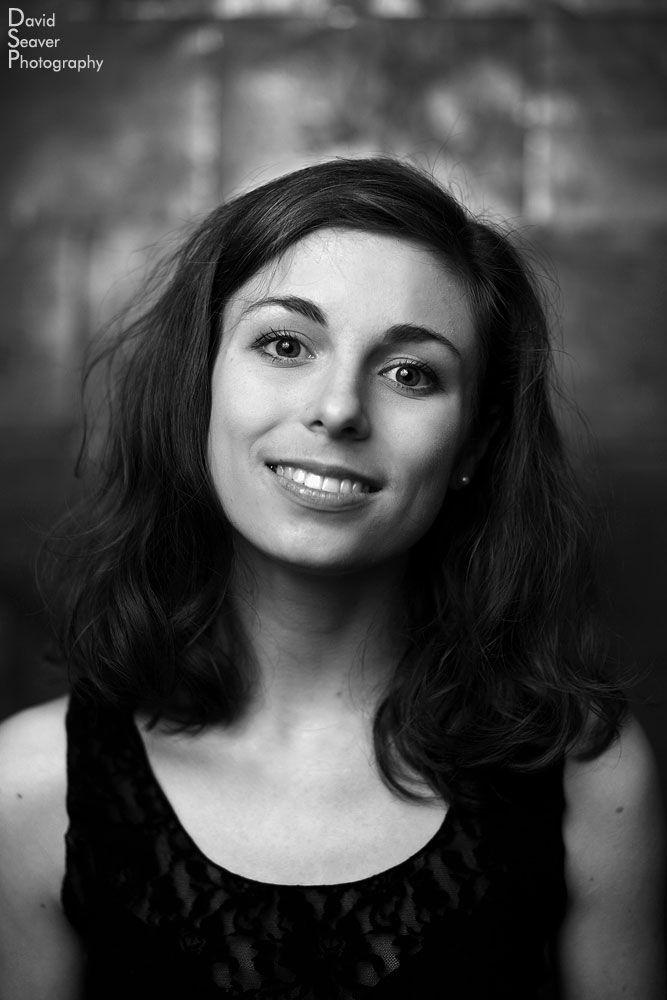
Headshots are a necessary part of commercial photography. There will always be people who need headshots for their company, online profile, or modeling comp card. While there are myriad ways to shoot a headshot, I will go over the basic setup. It’s a great starting point and will always get you a great photo.
My basic setup is with 2-5 lights and light shapers depending on the situation. If you’re in a confined space and only shooting one or two people, using all small flashes/speedlights is fine. The larger the space and the more people you have lined up, the wiser it is to use large flash units that can run all day and have a higher output. But as I always say, there is no ‘right way’ to do anything in photography. You can bounce, you can use natural light, you can shoot through cloth. This is just one way to do it.
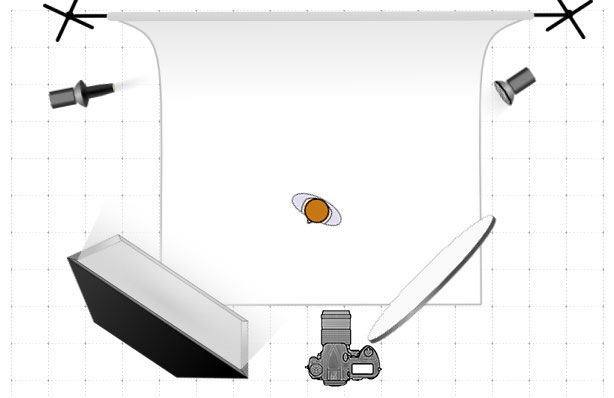
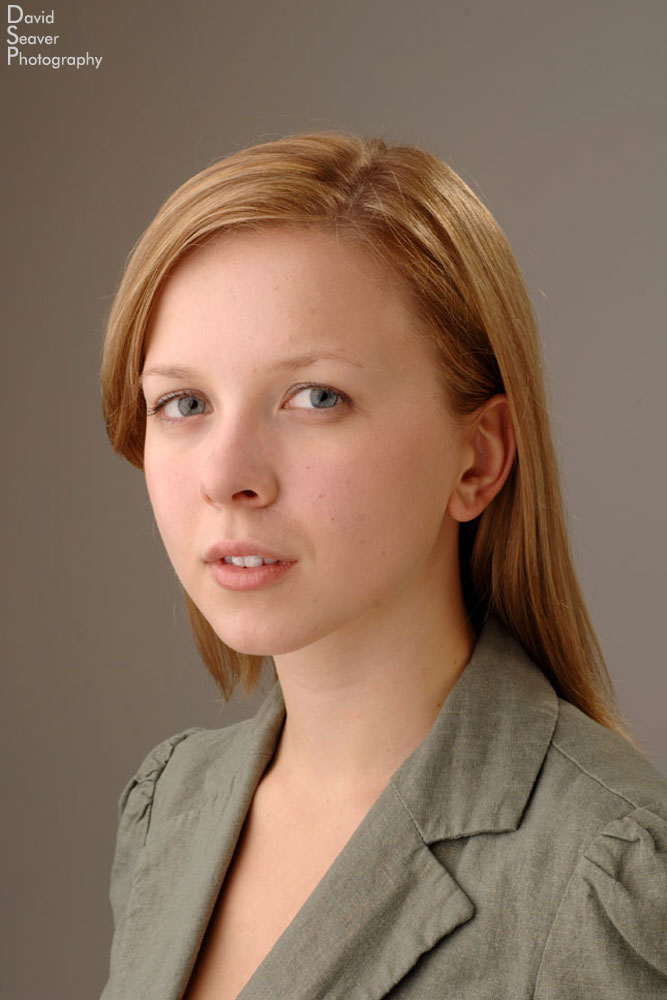
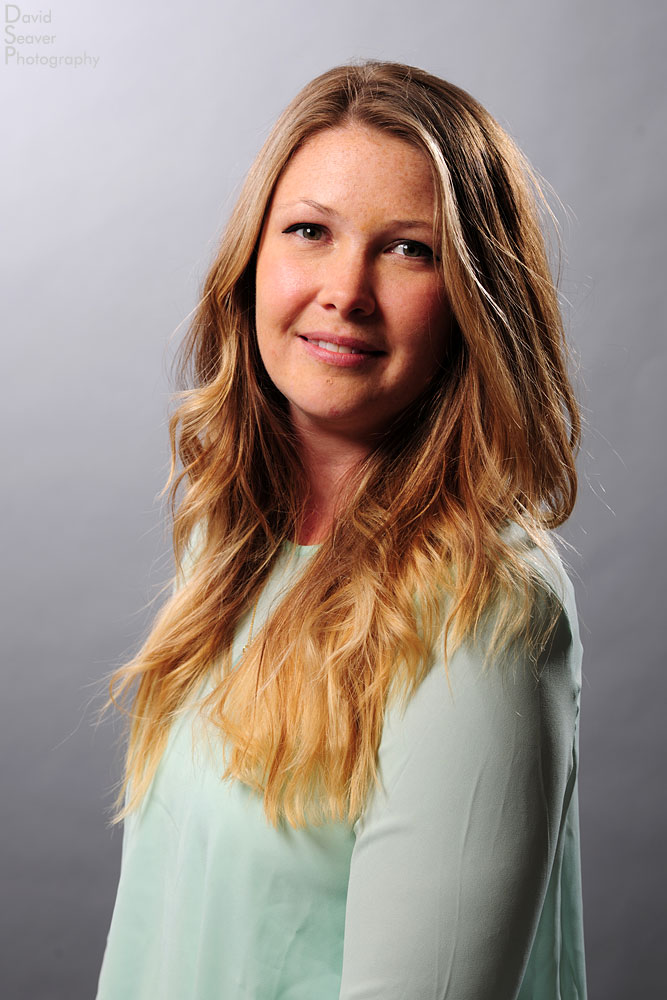
My main/key light is usually a softbox to camera left. Unless the client says otherwise I have the subjects turn their bodies about 45 degrees to their right, showing me the left side of their face (traditionally the ‘more beautiful side’). The main light is about 45 degrees to my left, at head height or higher (depending on ceiling height. The secondary light is either a gridded spot or a softbox (the deeper the baffles the better) coming from the back camera right to highlight the shoulder, separate the subject from the background, and give a little rim light to the hair. My third light is a gridded spot or a snoot raking across the background at an aggressive angle from back camera left to give a little variation to the background. The fourth light can be powered or just a white reflector under the subject, camera front/low right. If you’re using a reflector get it as close to the edge of the frame as possible to fill the shadow created by the key light. When the reflector isn’t enough, I will push a little light through it with a small flash. If the shadows are still too deep, you can bounce yet another flash off the ceiling (Assuming it’s white) to fill in the shadows or run a large umbrella camera right at a lower power to fill the shadows.
This setup is assuming you A.> Have enough lights. B.> Are working in a space large enough to fit all the lights.
With all photography, as soon as you get on site, all the rules go out the window. Many a time, I have been called to do headshots and ended up squeezing into a room the size of a small closet. If the walls are white, you can always bounce off them, especially for the key light, which lessens the space needed. Sometimes I get lucky and the client likes the color of a painted wall and a backdrop isn’t necessary, but most offices are sadly painted beige, not the best photo background.
With this basic setup you can adjust how much contrast there is, and how dramatic the lighting is just by changing the distance and position of the lighting from the subject. This same setup can be used outside or in another setting. If you’re outside or in a well lit location, you can get away with using just the main key light, balancing it with the surroundings.
Take these idea with you the next time you shoot a portrait. Start from a place you know and then start to stray into the unknown.
How to Take Great Portraits with One Flash
Although I always bring a whole bag, well, really a few bags full of flashes of all sizes and powers, many times I find that using one flash is an easy way to get the right lighting while still being flexible enough to follow the subject and make corrections quickly.
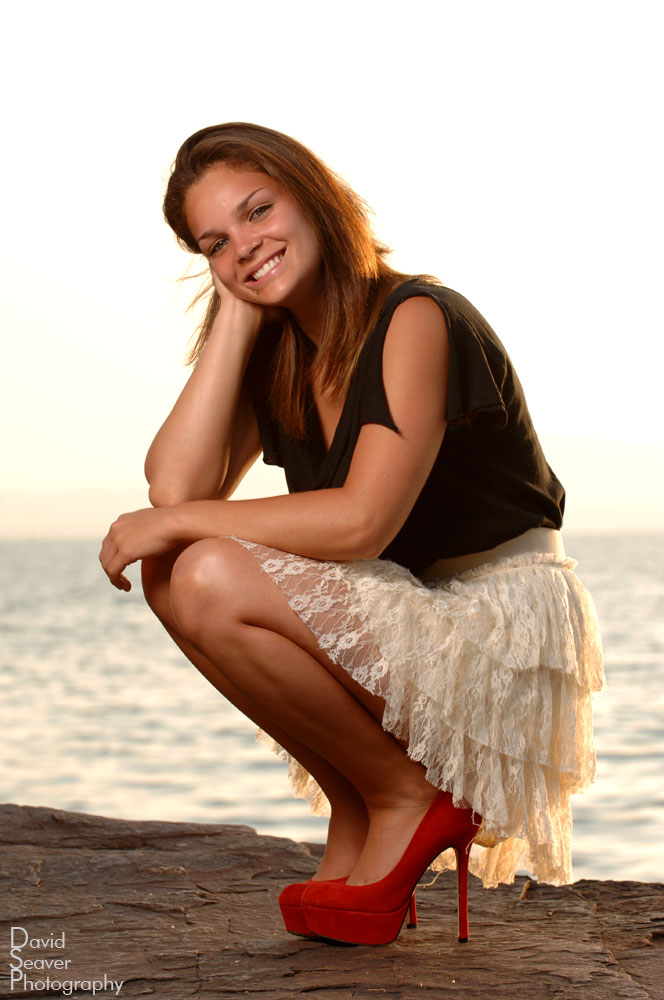
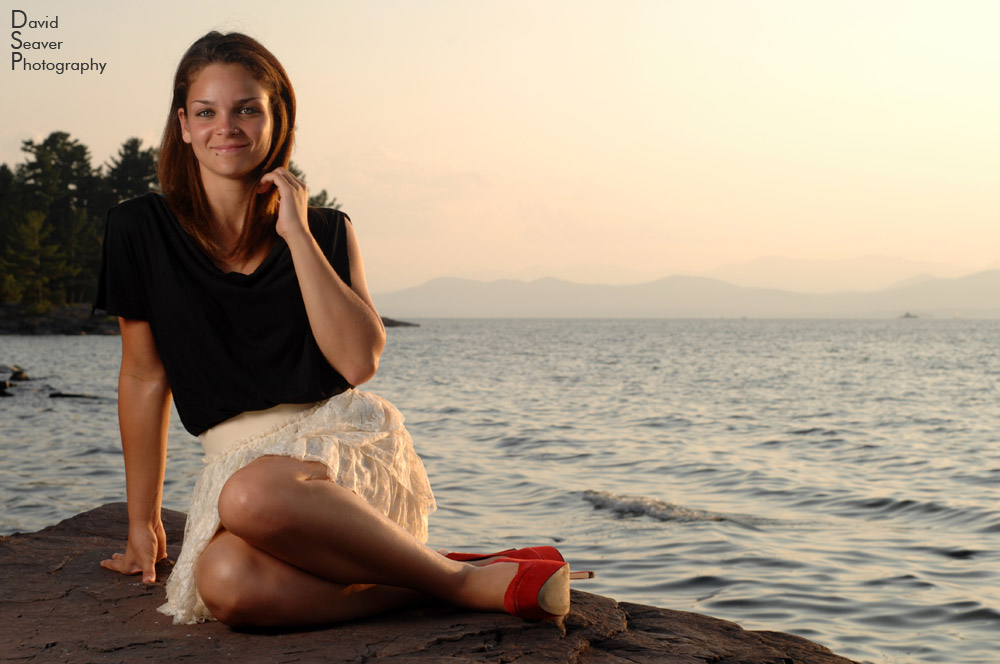
I recently shot a senior portrait session with a variety of lighting setups. I always try to be flexible and give lots of options in terms of lighting, background, and ‘looks’. While I am always working towards a thought out end photo, I will happily stray from that as light allows, or when things come up during the shoot, which they always do. As we went through the shoot, I was moving back and forth from flash to available to bounce and all combinations of the two. On these wide ranging shoots, I find that working with the different combinations of lighting helps me keep fresh perspective throughout the shoot. Each small change of lighting can lead to a new idea.
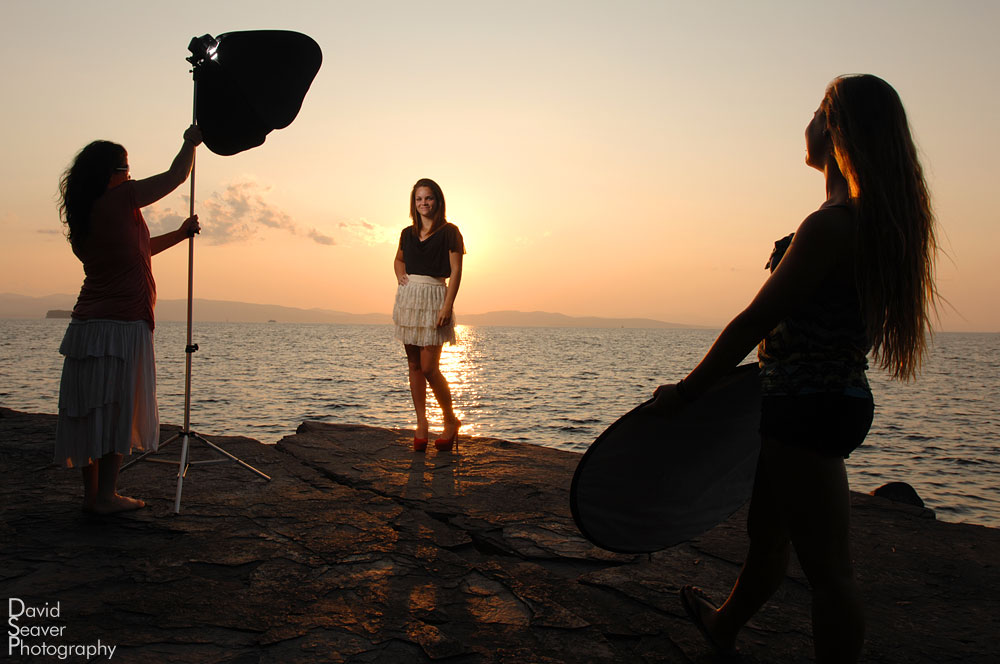
For this setup I was using a Nikon SB-800 Speedlight with a 24″ softbox and a 48″ circular reflector with the gold side bouncing a bit of warmth back on the subject and filling in the deep shadows. The SB-800 was triggered by radio. I do use Nikon’s iTTL with commander and remote flashes, but for this set up I was moving back and forth, changing cameras and lenses and needed to be sure the flash would be triggered. The bright sun has played tricks on the communication between commander and remote flashes in the past, meaning you need a pretty direct line of sight between the two. So for this I did do some minor tweaks to the flash, set in manual mode, increasing or decreasing the power as needed. Yes, it’s an extra trip to the flash, but we were moving around quite a bit and it didn’t seem to break up the flow too much. The movement and small break in shooting will also give the subject a little space to catch their breath before getting back into it. I find that with professional models you can get away with more sustained shooting, but with amateurs a little break is always helpful, if only for a few seconds.
The Nikon SB-800 had the dome diffuser off, but the wide angle flap down. I generally use the dome diffuser to give a slightly softer light through the softbox, but due to the intense sun I needed that extra bit of power that the dome diffuser takes away. I was running the SB-800 between 1/4 and full power. Having blown a few SB-800’s running on full power in the past, I generally try not to use it too much, but if I have to, I try and slow my shooting down to allow the flash to safely recycle without frying. The amount of ambient light and strength of the sun also kept me using the SB-800 instead of my SB-900 which will shut down if it starts overheating. Yes, it saves the flash, but a flash that stops working mid-shoot, while under normal circumstances is frustrating. I’ve heard good things about the SB-910’s thermal shutoff. Hopefully they have extended the range of heat allowed, or figured out a way to get rid of the heat more efficiently.
I could have just as easily used a battery powered monolight such as my SP-Systems Lancerlight 160 or an Elinchrome Ranger. I choose to use a smaller flash only for ease of movement. The larger monolights are just that, larger, so if you’re running around moving the light every few exposures, having the small flash helps keep the hassle to a minimum.

